Publicité
Les langues disponibles
Les langues disponibles
Liens rapides
INSTALLATION INSTRUCTIONS
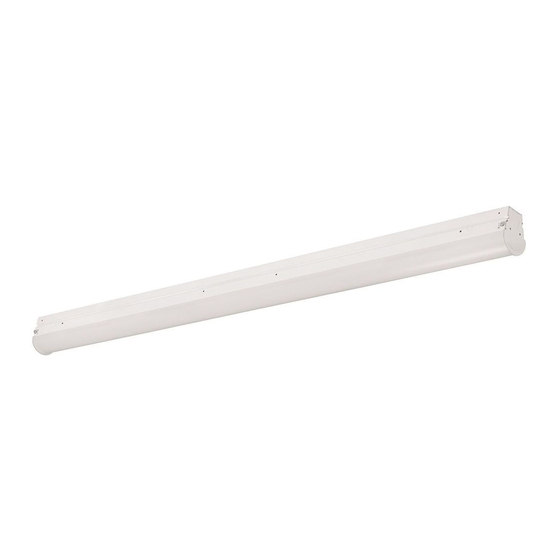
FLUXSTREAM EZ LED
Page 1 of 4
1) Remove unit from carton and inspect to ensure no shipping damage has occurred.
2) This luminaire is supplied with knockout holes for wiring access across the back of housing and side of each end cap.
3) To install with HANGER BRACKETS (See FIG.1):
A. Mount hanger brackets to structure with #8 screws. (Minimum 2 brackets per luminaire)
B. Once mounting brackets are secured to surface, snap luminaire into brackets. Mounting bracket should be secured into reveal of luminaire.
Tighten mounting bracket with #8-18 x 2" bolt that is provided.
C. Secure LED board to housing by looping tether over "T" lance as shown in Figure 2.
D. For stand alone installation bring customer supply wires into luminaire though preferred knockout hole. Make electrical connection per
electrical code.
E. For continuous row mounting refer to "CONNECTING LUMINAIRES FOR ROW MOUNTING": follow steps A, B and C above for
each luminaire. A customer supplied chase nipple and lock nut should be inserted into the knockout hole on each end of the adjoining fixtures
as shown in Fig 6.
4) To install with optional chain/hanger kit (PURCHASED SEPARATELY): Remove the V-Hook and chains from the bag pack. Hook the
V-Hook into each end of the luminaire in provided holes. The chains should then be attached to the permanent structure of the building.
5) To install with cable/stem mounting assembly (PURCHASED SEPARATELY):
A. Mount cable or stem to building structure above luminaire.
B. Remove stem mount KOs shown in Fig 1 at each end of fixture
C. Mount cable or stem to fixture in KO hole using included hardware.
STEM MOUNT KO
FIGURE 2: TETHERS
6) Snap in 4' LED board by inserting driver cover into the housing. Then start one side of board into groove and snap LED
board into housing by pushing opposite of board until it snaps into place as shown in Fig 3.
7) Snap on lens by angling one side in and then pivot the opposite end around to snap in the other side as shown in Fig 4.
CAUTION:
This fixture is designed for permanent installation in ordinary (Non-Hazardous) locations in accordance with the National Electrical Code and
all applicable local codes. Do not use in areas of limited ventilation or in high ambient enclosures. The lamp and fixture operate at high temperatures.
Contact with combustible materials can cause fire and personal contact can cause severe burns.
CAUTION: THE INSTALLATION AND SERVICING OF
THIS PRODUCT SHOULD BE PERFORMED BY A
QUALIFIED ELECTRICIAN OR SERVICE PERSONNEL
CABLE MOUNT ASSY
(PURCHASED SEPARATELY)
SURFACE MOUNT SCREWS
HOUSING REVEAL
MOUNTING BRACKETS
FIGURE 1: STAND ALONE CONFIGURATION
HOUSING
FIGURE 3: BOARD SNAP IN
KO FOR
WIRING ACCESS
KOs FOR
WIRING ACCESS
HOUSING
V-HOOK ASSY
(PURCHASED
SEPARATELY)
LENS
FIGURE 4: LENS
12NC: 44210025
Publicité

Manuels Connexes pour SIGNIFY Day-Brite CFI Fluxstream EZ LED


Sommaire des Matières pour SIGNIFY Day-Brite CFI Fluxstream EZ LED
- Page 1 INSTALLATION INSTRUCTIONS CAUTION: THE INSTALLATION AND SERVICING OF THIS PRODUCT SHOULD BE PERFORMED BY A FLUXSTREAM EZ LED QUALIFIED ELECTRICIAN OR SERVICE PERSONNEL Page 1 of 4 1) Remove unit from carton and inspect to ensure no shipping damage has occurred. 2) This luminaire is supplied with knockout holes for wiring access across the back of housing and side of each end cap.
- Page 2 INSTALLATION INSTRUCTIONS CAUTION: THE INSTALLATION AND SERVICING OF THIS PRODUCT SHOULD BE PERFORMED BY A FLUXSTREAM EZ LED QUALIFIED ELECTRICIAN OR SERVICE PERSONNEL Page 2 of 4 FOR FIXTURE MAINTENANCE (ACCESSING WIRING COMPARTMENT) To remove lens from housing, push side of lens until the opposite side of lens protrudes from housing. Then pull protruding lens downward until removed as shown in Figure 5.
- Page 3 INSTRUCTIONS D'INSTALLATION ATTENTION: L'INSTALLATION ET L'ENTRETIEN DE CE PRODUIT DOIT TRE EFFECTU PAR UN FLUXSTREAM EZ LED LECTRICIEN QUALIFI OU SERVICE PERSONNEL Page 3 of 4 1) Retirer l'unit de la bo te et inspecter pour s'assurer qu'aucun dommage n'est survenu pendant le transport. 2) Ce luminaire est fourni avec knock-out pour le c blage travers l'arri re du bo tier et travers chaque extr mit 3) Pour installer les SUPPORTS DE SUSPENSION (COMMAND S S PAR MENT) (Voir FIG.
- Page 4 INSTRUCTIONS D'INSTALLATION ATTENTION: L'INSTALLATION ET L'ENTRETIEN DE CE PRODUIT DOIT TRE EFFECTU PAR UN FLUXSTREAM EZ LED LECTRICIEN QUALIFI OU SERVICE PERSONNEL Page 4 of 4 POUR LUMINAIRE MAINTENANCE ( ACC DER C BLAGE COMPARTIMENT ) Pour retirer l'objectif du corps du luminaire, poussez le c t de l'objectif jusqu' ce que le c t oppos de l'objectif d passe du corps du luminaire.