Sommaire des Matières pour RCA MC30SB
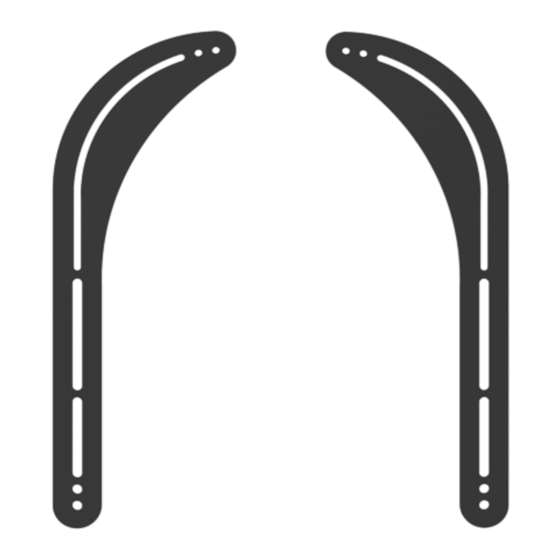
- Page 1 SOUND BAR BRACKET SUPPORT DE BARRE DE SON SOPORTE DE BARRA DE SONIDO Installation Manual Manuel d’installation Manual de instalación 15kg (33lbs) RATED MC30SB...
-
Page 2: Warning Information
Questions? Please call us at 1-800-645-7750 or visit RCAAudioVideo.com DISCLAIMER Voxx Accessories Corp. has extended every effort to ensure to accuracy and completeness of this manual. However, Voxx Accessories Corp. does not claim that the information covers all installation or operational variables. The information contained in this document is subject to change without notice or obligation of any kind. -
Page 3: Capacité De Charge
CAPACITÉ DE CHARGE ATTENTION! CAPACITÉ MAXIMALE DE CHARGE 15kg (33lbs) RATED L’UTILISATION AVEC DES BARRES DE SON DÉPASSANT LA CAPACITÉ DE CHARGE MAXIMALE DE CE PRODUIT PEUT ENTRAÎNER SA DÉFAILLANCE ET CAUSER DES BLESSURES ET/OU DES DOMMAGES MATÉRIELS ÉVENTUELS. LE TÉLÉVISEUR, LA BARRE DE SON, LE SUPPORT DE BARRE DE SON ET TOUS LES ACCESSOIRES DONT L’INSTALLATION EST PRÉVUE NE DOIVENT PAS DÉPASSER LA LIMITE DE CHARGE SPÉCIFIÉE DU SUPPORT MURAL POUR TÉLÉVISEUR. -
Page 4: Outils Nécessaires (Non Inclus) Herramientas Requeridas (No Incluidas)
Tools Required (Not Included) Outils nécessaires (non inclus) Herramientas requeridas (no incluidas) Package Contents Contenu de l’emballage / Contenido del embalaje Sound Bar Bracket Support de barre de son Soporte de barra de sonido Mounting Hardware Bags Sacs de matériel de montage / Bolsas de tornillería de montaje A (x2) E (x4) I (x4) -
Page 5: Mounting Options
Mounting Options Options de montage / Opciones de montaje For larger soundbars (with mounting holes Option 1 / Option 1 / Opción 1 wider than the mounting arms on your TV) Follow Option 1 starting on the next page. Pour les grandes barres de son (avec des trous de fixation plus espacés que les bras de fixation du téléviseur). - Page 6 Mounting Option 1 Option de montage 1 Opción de montaje 1 With the help of another person, carefully remove your TV from its mount. Then remove the mounting arms from its back. Avec l’aide d’une autre personne, retirer précautionneusement le téléviseur de son support. Ensuite, retirer les bras de fixation du dos du téléviseur.
- Page 7 C (x4) Determine the correct length of bolt (C, D, E, or F) to use to M6x14 Bolts connect the sound bar bracket to your TV. Boulons M6x14 If the back of your display is flat and the mounting holes Pernos M6x14 are flush with the surface, use the shorter bolts from the D (x2)
- Page 8 Attach the sound bar brackets and mounting arms to the back of your TV using the bolts identified in Steps 1 and 2 along with washers and spacers as shown below. Fixer les supports de la barre de son et les bras de montage au dos du téléviseur à l’aide des boulons identifiés aux étapes 1 et 2 ainsi que les rondelles et les entretoises comme indiqué...
- Page 9 Attach the sound bar to the sound bar brackets using the bolts identified in Step 5 along with washers and spacers as shown below. Fixer la barre de son aux supports de la barre de son en utilisant les boulons identifiés à l’étape 5 ainsi que les rondelles et les entretoises comme indiqué...
- Page 10 Mounting Option 2 Option de montage 2 Opción de montaje 2 With the help of another person, carefully remove your TV from its mount. Then remove the mounting arms from its back. Avec l’aide d’une autre personne, retirer précautionneusement le téléviseur de son support. Ensuite, retirer les bras de fixation du dos du téléviseur.
- Page 11 C (x4) Determine the correct length of bolt (C, D, E, or F) to use to M6x14 Bolts connect the sound bar bracket to your TV. Boulons M6x14 If the back of your display is flat and the mounting holes Pernos M6x14 are flush with the surface, use the shorter bolts from the D (x2)
- Page 12 Attach the sound bar brackets and mounting arms to the back of your TV using the bolts identified in Steps 1 and 2 along with washers and spacers as shown below. Fixer les supports de la barre de son et les bras de montage au dos du téléviseur à l’aide des boulons identifiés aux étapes 1 et 2 ainsi que des rondelles et des entretoises comme indiqué...
- Page 13 A (x2) Determine the correct diameter of bolt to use on your sound bar M4x14 Bolts by carefully trying one of each size (A, B, or C) from the hardware kit. Boulons M4x14 Do not force any of the bolts – if you feel resistance stop immediately Pernos M4x14 and try a smaller diameter bolt.
- Page 14 énoncées ci-dessus pourraient être nulles dans votre cas. Cette Garantie vous confère des droits juridiques spécifiques qui s’ajoutent aux autres droits éventuels qui peuvent varier d’une juridiction à l’autre. ©2020 Voxx Accessories Corp. 3502 Woodview Trace, Suite 220 Indianapolis, IN 46268 MC30SB IB 01...


