Publicité
Les langues disponibles
Les langues disponibles
Liens rapides
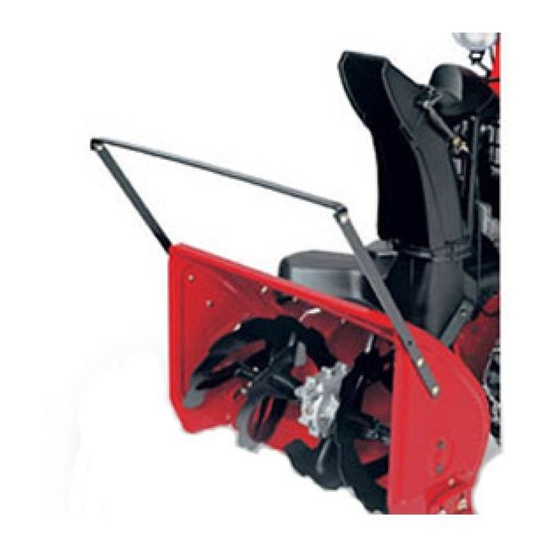
Drift Breaker Kit
For Power Max® Snowthrowers
Model No. 107-3816
Model No. 107-3817
Installation
Loose Parts
Use the chart below to verify that all parts have been shipped.
Step
Template
Side breaker
Top breaker
1
Carriage bolt, (5/16 x 3/4 inches)
Carriage bolt, (5/16 x 1 inch)
Locknut, 5/16 inch
Note: Visit www.Toro.com and download the French Operator's Manual that corresponds to the model
and serial number of the product on which this kit is installed.
Step
1
Installing the Drift Breaker
on the Snowthrower
Parts needed for this step:
1
Template
2
Side breaker
1
Top breaker
4
Carriage bolt, (5/16 x 3/4 inches)
2
Carriage bolt, (5/16 x 1 inch)
6
Locknut, 5/16 inch
Procedure
1. Trim off the template along the dotted line.
2. Position the template (printed side out) on the
right side of the auger housing aligning the
dotted line (previously cut) edge with the top
of the auger housing and the right side of the
template with the front edge of the housing
(Figure 1).
© 2006—The Toro® Company
8111 Lyndale Avenue South
Bloomington, MN 55420
Description
1. Carriage bolt, 5/16 x 3/4
2. Side breaker (2)
3. Template
4. Carriage bolt, 5/16 x 1 inch
3. Secure the template in place with tape and
4. Measure 4 inches (10.2 cm) down along the
Register at www.Toro.com.
Form No. 3355-309 Rev A
Installation Instructions
Qty.
1
2
1
Install the drift breaker on the
snowthrower.
4
2
6
Figure 1
5. Top edge of side breaker
inches (4)
6. Top breaker
7. Locknut (6)
(2)
center punch through the hole on the template
and onto the snowthrower side frame.
diagonal line and mark the spot on that line.
Original Instructions (EN)
Use
Printed in the USA.
All Rights Reserved
Publicité

Sommaire des Matières pour Toro 107-3816
- Page 1 Carriage bolt, (5/16 x 3/4 inches) Carriage bolt, (5/16 x 1 inch) Locknut, 5/16 inch Note: Visit www.Toro.com and download the French Operator’s Manual that corresponds to the model and serial number of the product on which this kit is installed. Step...
- Page 2 5. Punch through the mark you made on the template and onto the snowthrower side frame. 6. Remove the template. 7. Turn the template over (printed side in) and position it on the left side of the auger housing, aligning it with the top and front edges of the auger housing.
-
Page 3: Mise En Service
Boulon de carrossier (5/16 x 1 pouce) Contre-écrou 5/16" Remarque: Rendez-vous sur le www.Toro.com et téléchargez, le Manuel de l’utilisateur en français correspondant au modèle et au numéro de série du produit portant ces autocollants. fraise et le côté droit du gabarit avec le bord avant du carter (Figure 1). - Page 4 chaque trou sur le gabarit et sur le châssis latéral de la déneigeuse. 4. Mesurez 10,2 cm (4 pouces) le long de la diagonale et marquez l'emplacement sur cette ligne. 5. Percez un trou dans le repère du gabarit et sur le châssis latéral de la déneigeuse.


