Publicité
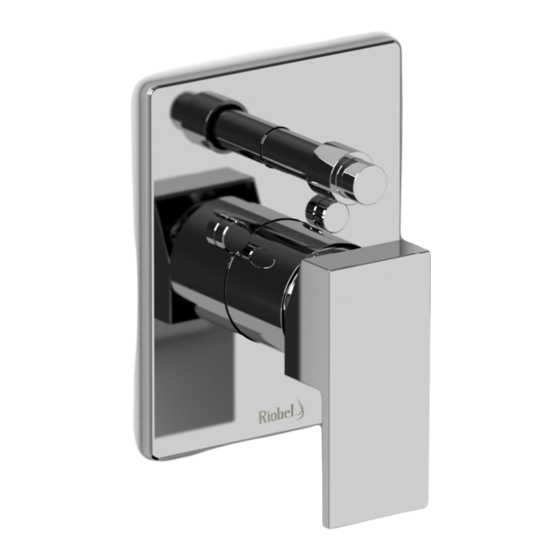
Installation guide for pressure
balance valve with diverter Kubik & Njoy series /
Guide d'installation pour les valves à pression équilibrée
avec déviateur série Kubik et Njoy
UNITED STATES
TORONTO
Tel.: 1-866-473-8442
11, Cidermill ave. Unit 5
Fax: 1-866-909-8442
Concord (Ontario)
L4K 4B6
Tel.: 905-760-9009
1-888-287-5354
Fax: 905-760-1292
www.riobelpro.ca
Info@riobel.ca
MONTRÉAL
820, rue Nobel
St-Jérôme (Québec)
J7Z 7A3
Tél. :450-432-0442
1-866-473-8442
Télec. : 450-432-1095
Publicité
Table des Matières

Sommaire des Matières pour Riobel Pro Kubik Serie
- Page 1 Kubik et Njoy UNITED STATES TORONTO MONTRÉAL Tel.: 1-866-473-8442 11, Cidermill ave. Unit 5 820, rue Nobel Fax: 1-866-909-8442 Concord (Ontario) St-Jérôme (Québec) L4K 4B6 J7Z 7A3 Tel.: 905-760-9009 Tél. :450-432-0442 1-888-287-5354 1-866-473-8442 Fax: 905-760-1292 Télec. : 450-432-1095 www.riobelpro.ca Info@riobel.ca...
-
Page 2: Installation Du Brute
Rough installation ATTENTION A. Determine the valve position on the wall. B. Connect the water supply (hot and cold) and the shower system to the valve. C. Fix the valve in place to the right depth (measure your depth from the finished wall using the template). -
Page 3: Trim Installation
Trim installation A. Remove the templates (1). B. Slide the decorative sleeve (3) onto the valve body (2) and screw the decorative ring (2). C. Screw the decorative diverter sleeve (4) onto the diverter rod (5). D. Slide the assembly plate (4) onto the decorative sleeves (3 & 4). E. -
Page 4: Cartridge Replacement
Service valve Cartridge replacement A. Remove the plate from the valve (see “trim installation” section). A. Turn off water supply or service valves. B. With a screwdriver, adjust the service valve to the desired position B. Remove the handle (3) by removing the screw cap (1) and unscrewing the set screw (2). - Page 5 We thank you for choosing a Riobel product. It’s a top quality product, made to last and keep its original look for a very long time. Before starting with the installation, please take a few minutes to read the instructions in this booklet. We suggest that you keep the booklet for future referral or in case of any problem.


