Publicité
Liens rapides
h
SATA
User Manual
Benutzerhandbuch
Manuel d'utilisateur
Manuale
© LINDY ELECTRONICS LIMITED & LINDY-ELEKTRONIK GMBH - SECOND EDITION (November 2013)
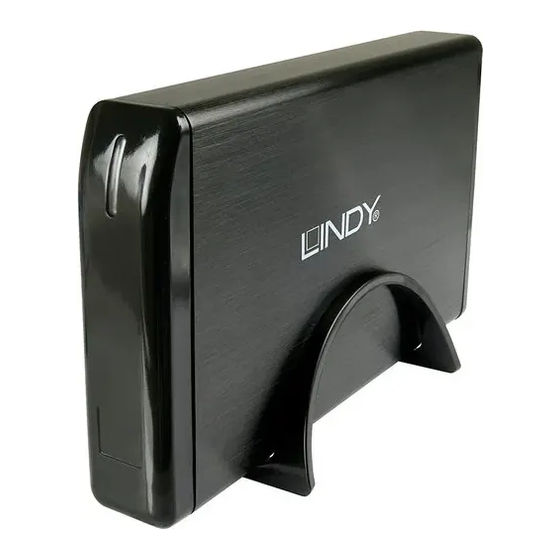
Hard Drive Enclosure
No. 42901 (USB 2.0)
No. 43107 (USB 3.0 & eSATA)
No. 43109 (USB 3.0)
www.lindy.com
English
Deutsch
Français
Italiano
Publicité

Sommaire des Matières pour Lindy 42901
- Page 1 Hard Drive Enclosure SATA User Manual English Benutzerhandbuch Deutsch Manuel d’utilisateur Français Manuale Italiano No. 42901 (USB 2.0) No. 43107 (USB 3.0 & eSATA) No. 43109 (USB 3.0) www.lindy.com © LINDY ELECTRONICS LIMITED & LINDY-ELEKTRONIK GMBH - SECOND EDITION (November 2013)
- Page 2 Installation English: Remove the two screws from the back panel. Slide the back panel out of the enclosure to reveal the drive tray. Place your HDD into the tray and then slide it into position so that the SATA connection is made between the HDD and the 22 Pin SATA interface. The screw holes on the side of your HDD will be aligned to the slots in the tray.
- Page 3 Operation (English) Power Requirements This enclosure must always be used with the supplied power supply. Computer Connection The dual interface model 43107 can be connected only via one of the interfaces at a time! Driver Installation Modern operating systems such as Windows 8, 7, Vista, XP already include the necessary USB drivers.
- Page 4 Utilisation (Francais) Alimentation Ce boîtier ne doit être mis utilisé qu’avec l’alimentation fournie. Connexion à l’ordinateur Le modèle,43107, possédant les deux interfaces (USB 3.0 & eSATA) ne peut être relié que par l’intermédiaire d’une seule des deux interfaces à la fois ! Installation de pilote Les systèmes d’exploitation actuels, comme Windows 8, 7, Vista incluent les pilotes USB nécessaires.
- Page 5 Ogni stato membro dell’ EU ha tramutato le direttive WEEE in leggi statali in varie misure. Fare riferimento alle leggi del proprio Stato quando si dispone di un apparecchio elettrico o elettronico. Per ulteriori dettagli fare riferimento alla direttiva WEEE sul riciclaggio del proprio Stato LINDY No. 42901, 43107_9 Edition November 2013 www.lindy.com...


