Publicité
Liens rapides
USB 3.0 Docking & Clone
Station for 2 SATA HDDs
User Manual
Benutzerhandbuch
Manuel Utilisateur
Manuale d'uso
LINDY No. 43112
www.lindy.com
Tested to Comply with FCC Standards
For Home and Office Use!
© LINDY ELECTRONICS LIMITED & LINDY-ELEKTRONIK GMBH - THIRD EDITION (APRIL 2011)
Overview
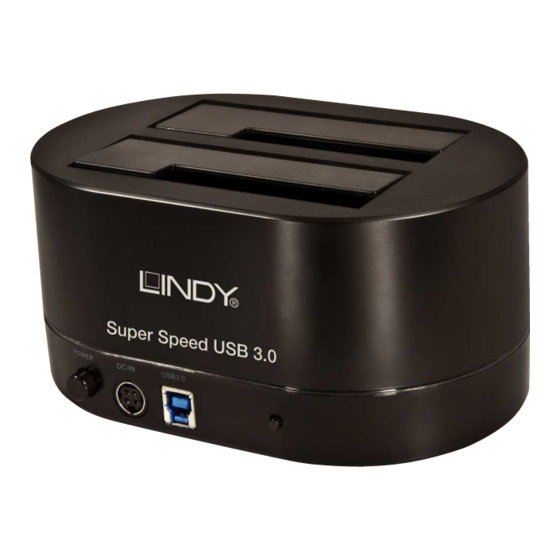
The LINDY USB 3.0 HDD Docking & Clone Station can be used as
both a dual HDD SATA docking station and a HDD cloning station.
The HDD Cloning function should be used standalone and creates a bit
by bit clone of the source HDD onto the target HDD.
Features
• Connects 2 SATA HDD/SSDs to a computer using a single connector
• Accepts 1.8/2.5/3.5" HDD/SSDs with 22 pin SATA combo interface.
For Micro and Slim SATA and IDE drives, adapters and adapter
cables are available from LINDY separately (No.33500).
• Computer connection via USB 3.0
• SATA II/1.0a 1.5/3.0Gbps Interface, compatible with SATA 6Gb/s
drives
• USB 3.0 SuperSpeed Interface up to 5Gbps, Plug and Play
• Compatible with Windows XP/Vista/7, Linux 2.6.31 or above (drivers
included, native support)
Package Contents
1x
SATA Docking & Cloning Station with 3.3V support for SSDs
1x
Power Supply 100-240VAC / 5V & 12V DC
1x
Power Cord
1x
USB 3.0 cable A/B
1x
This Manual
English
Deutsch
Français
Italiano
English
English
English
POWER
DC/IN
switch
Socket
Important!
Please ensure the DC Plug is
inserted to match the grey outline of
the socket on the housing, with the
arrow facing the bottom of the
socket!
Installation and Use
• Connect the power supply, as shown on the first page on this manual
• If you want to clone HDDs we suggest not to connect the Docking
Station to your computer
• For normal docking station operation connect the Docking Station to
your computer by USB 3.0 cable
• Add the HDDs to the docking station and press the power switch ON
• Wait until the drivers are loaded by the operating system – you
should then see the drives in the file manager program
• HDDs may need to be partitioned / formatted using your operating
system disk management utility before you can access them.
• Before unplugging HDDs make sure data transfer processes are
completed and that the activity light is not lit.
Using the CLONE function
• Install the source and target HDDs into the labelled appropriately bay
• The target HDD must be of equal or larger capacity than the source
HDD
• Make sure target HDD is empty and not partitioned
• Press the power switch ON. The centre LED will light up red. The
blue LEDs will light up when HDDs are connected.
• Press the DUPLICATE button for 5 seconds. The left blue LED will
begin flashing. Flashing will stop once the duplication process has
ended. Do not switch OFF or unplug the HDDs during the cloning
process!
DUPLICATE button
English
English
Publicité

Sommaire des Matières pour Lindy 43112
- Page 1 Installation and Use English The LINDY USB 3.0 HDD Docking & Clone Station can be used as • Connect the power supply, as shown on the first page on this manual both a dual HDD SATA docking station and a HDD cloning station.
- Page 2 • Connectez l’alimentation come indiqué sur la page 2! • Si vous souhaitez cloner vos HDDs nous vous suggérons de ne pas Le HDD Docking & Clone Station USB 3.0 de LINDY peut être utilisé en dual (double) disques HDD SATA ou comme station de clonage connecter votre Docking Station à...
- Page 3 LINDY Herstellergarantie d’application correspondant à l’élimination des déchets électriques ou électroniques de votre pays. LINDY gewährt für dieses Produkt über die gesetzliche Regelung hinaus eine zweijährige Italy Herstellergarantie ab Kaufdatum. Die detaillierten Bedingungen dieser Garantie finden Sie Nel 2006 l’unione europea ha introdotto regolamentazioni (WEEE) per la raccolta e il auf der LINDY Website aufgelistet bei den AGBs.


