
Manuels Connexes pour clou InBe IB/04.01140


Sommaire des Matières pour clou InBe IB/04.01140
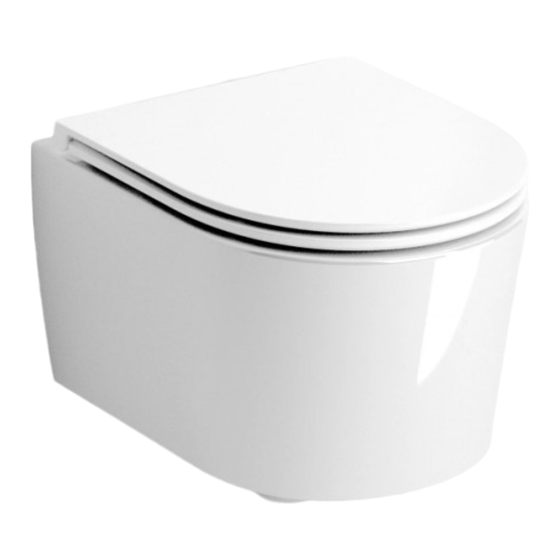
- Page 1 InBe toilet 48 cm, with seat IB/04.01140 Montage instructies Installation instructions Notice de montage Montageanweisungen REV 01 17.10.2019...
- Page 2 - Clou b.v. can not be held responsible for - Clou b.v. kan niet verantwoordelijk worden the results of improper use, improper gesteld voor de gevolgen van onaangepast...
- Page 3 éventuellement Für andere Wände ist die verwendeten consolider le mur si nécessaire. regelnmittel an eigener Verantwortlichkeit, - Clou se réserve le droit pour tout und die Wand konnte Verstärkung changement technique ou optique par benötigen. rapport à la photo représentant le produit.
- Page 4 Gegenstände auf das Produkt passend ist. Gebruiksvoorschriften: zie ook de onderhoudsvoorschriften op www.clou.nl User’s instructions: See also the maintenance guides at www.clou.nl Instructions d’utilisation: Voyer aussi les instructions de maintenance sur www.clou.nl Gebrauchsanweisungen: Sehen Sie auch die Wartungsanweisungen am www.clou.nl...
- Page 5 ø28...
- Page 6 Draai de montage bussen over de draadstan- gen van het inbouwreservoir. Zorg ervoor dat de uitsparing aan de bovenzijde zit en dat ze 19 mm uitsteken t.o.v. de muur. Rotate the mounting bushes onto the threaded rods of the built-in cistern. Ensure that the recess is on the upper side and there’s a distance of 19 mm between the bushes and the wall.
- Page 7 Plaats het toilet over de mon- tage bussen. Klem de toe- en afvoerbuizen van het inbouw- reservoir vast. Place the toilet over the mounting bushes. Securely clamp the supply pipe and the drain pipe of the in-built cistern. Placez la cuvette sur les douilles de montage.
- Page 8 Schroef de stelschroeven via de bovenzijde van het toilet vast aan de montage bussen. Controleer of het toilet waterpas gemon- teerd is. Trek vervolgens de hulpstukken los. Via the upper side of the toilet, screw the set screws tightly onto the mounting bush- es.
- Page 9 Duw beide plastic bescher- mingsschijven tegen de scharnierpinnen. Monteer vervolgens alle scharnier delen. Push both rubber protection discs against the hinge pins. Then assemble all hinge parts. Poussez les deux disques de protection en caoutchouc contre les chevilles des charnières. Ensuite assem- blez toutes les pièces de la charnière.
- Page 10 Plaats de toilet zitting en deksel door deze vast te klik- ken op de scharnierpinnen. Install the toilet seat and cover by clicking them into place on the hinge pins. Placez l’assise et l’abattant en les cliquant sur les che- villes des charnières.
- Page 11 Open de toiletzitting en deksel zonder de scharnier- pinnen te bewegen. Draai de scharnierpinnen stevig vast. Open the toilet seat and cover without moving the hinge pins. Tighten the hinge pins until secure. Ouvrez l’assise et l’abattant sans déplacer les chevilles des charnières.
- Page 12 Plaats de afdekkapjes over de scharnierpinnen. Place the covering caps over the hinge pins. Placez les capuchons de protection sur les chevilles des charnières. Setzen Sie die Abdeckkap- pen auf die Scharnierstifte auf. Plaats de toiletzitting en deksel over de scharnierpin- nen.
- Page 16 Clou. Bath findings. Clou bv Thermiekstraat 1 NL-6361 HB Nuth T +31 (0)45 524 56 56 info@clou.nl www.clou.nl Looking for inspiration?