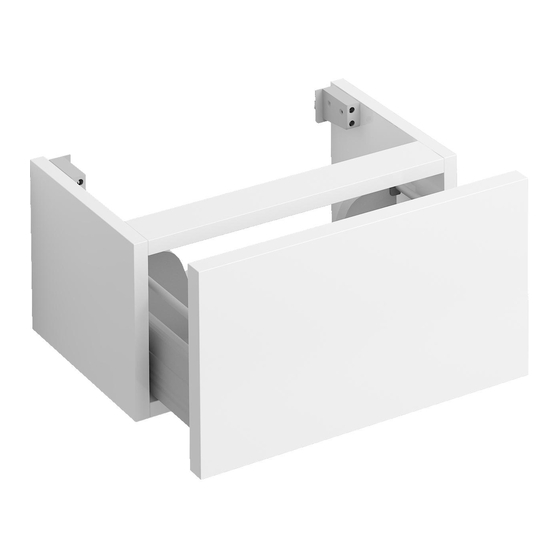
Sommaire des Matières pour clou mini match me CL/07.56.551.50
- Page 1 mini match me_dresser 450 b a t h f i n d i n g s CL/07.56.551.50 Montage instructies Installation Instructions Notice de montage Montageanweisungen...
- Page 2 All menti- oned dimensions in this manual should be verified before executing the action. - Clou b.v. can not be held responsible for the results of improper use, improper transportation or any damage caused during interim storage.
- Page 3 à toute action. - Clou BV ne peut être tenu responsable pour usage non approprié des articles, trans- port inadéquat ou dommage causés à votre entrepôt en attente de livraison.
- Page 4 Gegenstände auf das Produkt passend ist. Gebruiksvoorschriften: zie ook de onderhoudsvoorschriften op www.clou.nl max. User’s instructions: See also the maintenance guides at www.clou.nl 15 kg Instructions d’utilisation: Voyez aussi les instructions d’entretien sur www.clou.nl Gebrauchsanweisungen: Sehen Sie auch die Wartungsanweisungen am www.clou.nl...
- Page 7 Duidt met potlood en waterpas de middellijn van de ladekast aan. Duidt de gewenste positie ook aan op de ladekast. Mark with pencil and level the centreline of the dresser. Also indicate the desired position on the dresser. X mm Marquer avec un crayon et avec un niveau la ligne de centre de la commode.
- Page 8 Y-line Duidt met potlood voor elke beugel de plaatsen aan waar u gaten moet boren. Het is aan- geraden de gegeven afmetin- gen na te meten. Mark with pencil for every sup- port the spots to drill holes. It is recommended to verify the 145 mm 145 mm given dimensions.
- Page 9 Boor de gaten voor de beugels (ø 8 mm). Drill the holes for the supports (ø 8 mm). Percer les trous pour les sup- ports (ø 8 mm). Bohren Sie die Löcher für die Unterstutzungen (ø 8 mm). ø 8 mm Boor ook de gaten voor de wastafel, planchet, spiegel en kolomkast.
- Page 10 Steek de pluggen voor de lade- kast in de gaten en schroef de bevestigingsplaten vast. Insert the plugs for the drawer in the holes and attach the mounting plates. Insérer les chevilles pour le commode dans les trous et vis- ser les plaques de montage.
- Page 11 Plaats de bevestigingsbeugels van de ladekast over de bevestigingsplaten. Place the mounting brackets of the dresser over the mounting plates. Placer les supports de fixation de la commode sur les plaques de montage. Setzen Sie die Befestigungsbü- geln von der Kommode über den haken.
- Page 12 Plaats de lade terug in de ladekast. Place the drawer back in the dresser. Remettre le tiroir dans la commode. Setzen Sie die Schub- lade wieder in der Kommode ein. Schuif het plastic afdekkapje naar achter om de hoek van het ladefront in te stellen.
- Page 13 Stel de hoek af d.m.v. de stelschroef zodat het ladefront verticaal staat. Adjust the inclination by tur- ning the setscrew. Make sure the drawer front is perfectly vertical. Réglez l‘inclination par tour- ner la vis de réglage jusqu‘à la façade du tiroir est verticale. Stellen Sie den Winkel mithilfe der Stellschraube ein, sodass die Kommodenfront vertikal...
- Page 14 Verwijder het plastic plaatje aan beide zijkante van de lade en plaats het terug na het afstellen van de plaatsing van het deurtje. Remove the plastic plate on both sides of the drawer and put it back after adjusting the placement of the door.
- Page 15 Stel de zijdelingse plaatsing van het deurtje af d.m.v. de voorste schroef te verdraaien. Doe dit aan beide kanten. Adjust the sideways placement of the door by turning the front screw. Do this on both sides. Ajuster la position latérale de la porte par touner le vis avant.
- Page 16 Clou bv Thermiekstraat 1 NL-6361 HB Nuth T +31 (0)45 524 56 56 F +31 (0)45 524 60 00 info@clou.nl www.clou.nl...

