Publicité
Liens rapides
FPV Head
FPV Head
FPV Head
FPV Head
F l y C a m O n e H D 7 2 0 p
F l y C a m O n e H D 7 2 0 p
F l y C a m O n e H D 7 2 0 p
F l y C a m O n e H D 7 2 0 p
F l y C a m O n e H D 1 0 8 0 p
F l y C a m O n e H D
F l y C a m O n e H D
F l y C a m O n e H D
C a r C a m O n e h i g h d e f i n i t i o n
C a r C a m O n e h i g h d e f i n i t i o n
C a r C a m O n e h i g h d e f i n i t i o n
C a r C a m O n e h i g h d e f i n i t i o n
Anleitung
Manuel d'utilisation
Manual de uso
Vers. 1.0
"FlyCamOne", "CarCamOne" und das "FlyCamOne" Logo sind registrierte Marken von ACME the game company, Deutschland
© copyright 2011 von ACME the game company GmbH
Kompatibel mit
Compatible to
Compatible avec
1 0 8 0 p
1 0 8 0 p
1 0 8 0 p
Manual
Publicité

Sommaire des Matières pour ACME FlyCamOne HD
- Page 1 C a r C a m O n e h i g h d e f i n i t i o n Anleitung Manual Manuel d’utilisation Manual de uso Vers. 1.0 "FlyCamOne", “CarCamOne” und das “FlyCamOne” Logo sind registrierte Marken von ACME the game company, Deutschland © copyright 2011 von ACME the game company GmbH...
-
Page 2: Sicherheitshinweise
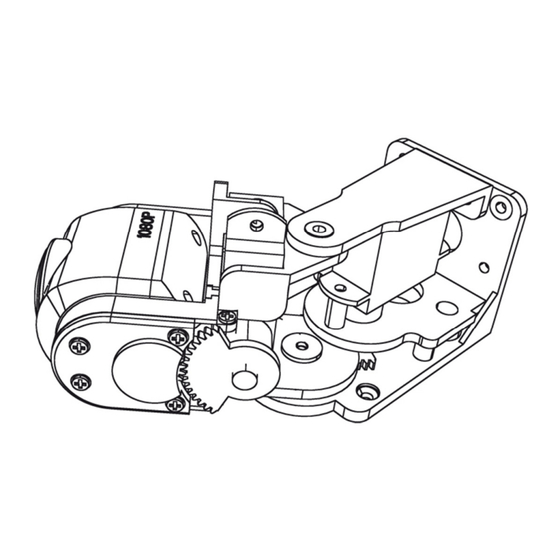
- STELLEN SIE KEINE FLÜSSIGKEITS elektrischen und elektronischen Geräten GEFÜLLTEN Entsprechend der Firmengrundsätze der GEFÄSSE WIE VASEN AUF DAS GERÄT ACME the game company GmbH wurden - VERWENDEN SIE AUSSCHLIESSLICH hochwertige wiederverwertbare Komponenten EMPFOHLENE ZUBEHÖRTEILE in diesem Produkt verbaut. Dieses Symbol auf - DEMONTIEREN SIE NICHT DAS GERÄT... - Page 3 Führen Sie diese Arbeit sehr sorgfältig durch und nehmen Sie sich Zeit! Verbinden Sie abschließend die zwei servos mit dem RC-Empfänger. Bei Verwendung mit den FlyCamOne HD V-Eyes zwingend mit den Kanälen 5 & 6. Der FPV-Kopf verfügt über je 4 Schraublöcher am Boden und der Rückseite um festen Halt im Modell...
- Page 4 Take time for this work! At least connect the Servo cables to your RC- Receiver. Using the FlyCamOne HD V- Eyes you need to connect the servos to the channels 5 and The FPV-head is equipped with 4 holes at bottom and backside in order to be strongly fixed to your model.
- Page 5 Installation de la tête FPV Pour remplacer la lentille et le capteur, vous devez accéder aux vis présentes sur la face arrière de la tête de la caméra. Utilisez pour cela le tournevis adéquat. Une fois que vous avez dévissé les vis, vous allez accéder au capteur et à...
- Page 6 En el caso de una utilización conjunta a las gafas V- Eyes FlyCamOne HD, los servos tienen que ser conectados a los canales 5 y 6. La cabeza FPV tiene 4 hoyos sobre sus lados permitiéndole de fijar el todo a su modelo.
