Helios AIR1-AAD NH EL+WW RH 5000 Notice De Montage Et D'entretien
Toiture pare-pluie
Masquer les pouces
Voir aussi pour AIR1-AAD NH EL+WW RH 5000:
- Notice de montage et d'entretien (20 pages)
Table des Matières
Publicité
Les langues disponibles
Les langues disponibles
Liens rapides
Helios Ventilatoren
MONTAGE- UND BETRIEBSVORSCHRIFT
INSTALLATION AND OPERATING INSTRUCTIONS
NOTICE DE MONTAGE ET D'ENTRETIEN
Wetterschutzdach
Weather protection cover
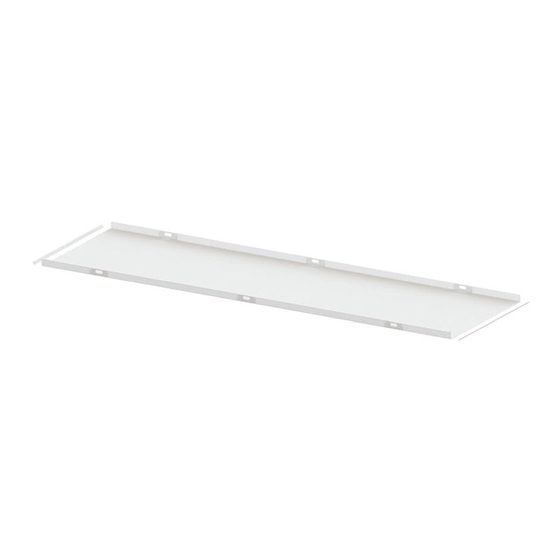
Toiture pare-pluie
AIR1-AAD NH EL+WW
AIR1-AAD KR KW+DX
für AIR1 Lüftungsgeräte
for AIR1 ventilation units
pour les centrales AIR1
DE
EN
FR
Publicité
Table des Matières

Manuels Connexes pour Helios AIR1-AAD NH EL+WW RH 5000

Sommaire des Matières pour Helios AIR1-AAD NH EL+WW RH 5000
- Page 1 Helios Ventilatoren MONTAGE- UND BETRIEBSVORSCHRIFT INSTALLATION AND OPERATING INSTRUCTIONS NOTICE DE MONTAGE ET D’ENTRETIEN Wetterschutzdach Weather protection cover Toiture pare-pluie AIR1-AAD NH EL+WW AIR1-AAD KR KW+DX für AIR1 Lüftungsgeräte for AIR1 ventilation units pour les centrales AIR1...
-
Page 10: Demandes De Garantie - Réserves Du Constructeur
Si les consignes figurant dans cette notice ne sont pas correctement respectées, la garantie s’annule. Il en est de même pour toute implication de responsabilité du fabricant. L’utilisation d’accessoires non conseillés ou proposés par Helios n’est pas permise. Les dégâts causés par cette mau- vaise utilisation ne sont pas couverts par la garantie. - Page 11 AIR1-AAD NH EL+WW RH 8000 1 102 Art.-Nr. Type AIR1-AAD NH EL+WW RH 9500 1 424 06445 AIR1-AAD NH EL+WW RH 5000 1424 AIR1-AAD NH EL+WW RH 12000 1 544 06446 AIR1-AAD NH EL+WW RH 6000 1544 Dimensions en mm...
- Page 12 Notice de montage et d’utilisation Toiture pare-pluie AIR1-AAD NH EL+WW / KR KW+DX 2. Placer du ruban isolant sur le côté indiqué de la toiture pare-pluie en faisant attention au profilé (voir fig. 4). Fig. 4 ✓ 3. Aligner le bord de la toiture pare-pluie avec les côtés de la batterie de refroidissement ou de chauffe externe comme indiqué...
-
Page 13: Maintenance Et Entretien
Notice de montage et d’utilisation Toiture pare-pluie AIR1-AAD NH EL+WW / KR KW+DX Fig. 7 6. Monter les pièces d’assemblage du module sur la centrale et la batterie externe et serrer les vis (voir fig. 8). Fig. 8 7. À l’aide des supports en tôle, monter la toiture pare-pluie sur la centrale et/ou la toiture pare-pluie d’une éventuelle deuxième batterie externe (voir fig. - Page 14 Notice de montage et d’utilisation Toiture pare-pluie AIR1-AAD NH EL+WW / KR KW+DX...
- Page 15 Notice de montage et d’utilisation Toiture pare-pluie AIR1-AAD NH EL+WW / KR KW+DX...
- Page 16 HELIOS Ventilatoren GmbH + Co KG · Lupfenstraße 8 · 78056 VS-Schwenningen HELIOS Ventilateurs · Le Carré des Aviateurs · 157 avenue Charles Floquet · 93155 Le Blanc Mesnil Cedex CH HELIOS Ventilatoren AG · Tannstrasse 4 · 8112 Otelfingen GB HELIOS Ventilation Systems Ltd.