Publicité
Liens rapides
Quad Drive Enclosure
SAS / SATA Multilane /
Infiniband SFF-8470
User Manual
Benutzerhandbuch
Manuel Utilisateur
Manuale d'uso
LINDY No. 42818
www.LINDY.com
For Home and Office Use
Tested to Comply with FCC Standards
© LINDY ELECTRONICS LIMITED & LINDY-ELEKTRONIK GMBH - FIRST EDITION (Jul-2008)
English Manual
Introduction
Thank you for purchasing the LINDY Quad Drive Enclosure. It
is designed to accept four 3.5" SATA Hard Disks and connect
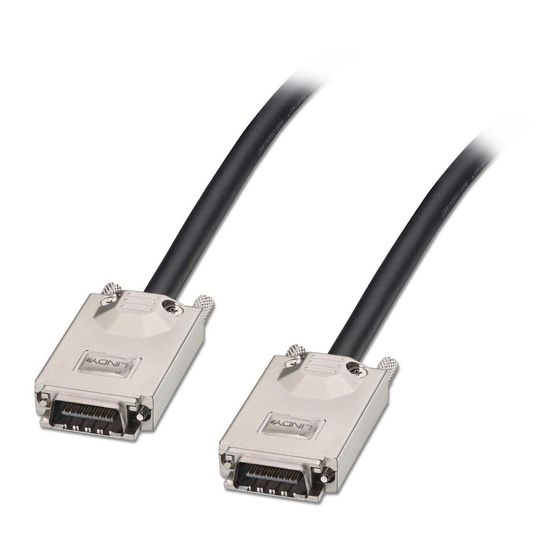
them via one SAS / SATA Multilane / Infiniband SFF-8470 cable
to your host controller.
With this enclosure you can easily expand the storage on your
computer by up to 4 TeraBytes in any RAID configuration
supported by your host controller.
Package Contents
English
1x Quad Drive Enclosure with 4x HDD frame and screws
Deutsch
Français
1x Mains cable
Italiano
This User Manual
Installation
1.
Disconnect the unit from the power before you start the
installation
2. Please open the front door
3.
Attach the plastic frame to
each of the HDDs, as shown,
using
4 of the supplied screws.
Note: The small handle locks on
the front must point to the top.
4. Slide the HDDs into the enclosure from the front, taking care
to ensure the SATA HDD
connectors correctly fit into
the
SATA
backplane
connectors
5. Make sure the plastic
HDD frame handle locks
into the metal panels at
each side as shown
6.
Close the front door
7.
You are now ready to connect the unit to your computer
Deutsches Benutzerhandbuch
EINFÜHRUNG
Wir gratulieren Ihnen zum Kauf des LINDY Quad Drive
Enclosure. Es nimmt vier 3.5" SATA Festplatten auf und
schließt diese über ein High Speed SAS / SATA Multilane /
Infiniband SFF-8470 Kabel an Ihren Host Controller an.
Mit diesem Gehäuse können Sie schnell und unkompliziert
Ihren Rechner mit 4 TeraByte Plattenplatz in jeder von Ihrem
RAID Controller unterstützten RAID Konfiguration erweitern.
LIEFERUMFANG
1x Quad Drive Enclosure mit 4x HDD Rahmen und
Schrauben
1x Stromkabel
Dies Handbuch
INSTALLATION
1. Bitte ziehen Sie das Stromkabel ab bevor Sie Festplatten
installieren.
2. Öffnen Sie die Fronttür
3. Befestigen Sie die
Plastikrahmen mit den
beiliegenden Schrauben an
den Festplatten. Die
Befestigungshaken vorne
müssen nach oben zeigen wie in den Abbildungen
4. Schieben Sie die Festplatten in die Schienen des Gehäuses.
Achten Sie darauf, dass die SATA Anschlüsse der
Festplatte korrekt in die der Backplane einrasten
5. Stellen Sie sicher, dass die Kunststoffhaken der Schienen
wie im Bild unten korrekt in die obere Metallblende
einrasten
6. Schließen Sie die
Fronttür
7. Das Gehäuse kann nun
an den Rechner und die
Stromversorgung
angeschlossen und in
Betrieb genommen
werden
Publicité

Sommaire des Matières pour Lindy Infiniband SFF-8470
- Page 1 3.5” SATA Hard Disks and connect Enclosure. Es nimmt vier 3.5” SATA Festplatten auf und them via one SAS / SATA Multilane / Infiniband SFF-8470 cable schließt diese über ein High Speed SAS / SATA Multilane / to your host controller.
- Page 2 Vous être maintenant prêt pour connecter le boîtier Quad Tested to comply with à votre ordinateur Ora potete collegare l’unità al computer ed utilizzarla. FCC Standards. LINDY No. 42818 For commercial use © LINDY ELECTRONICS LIMITED & LINDY-ELEKTRONIK GMBH - First Edition - JULY 2008...


