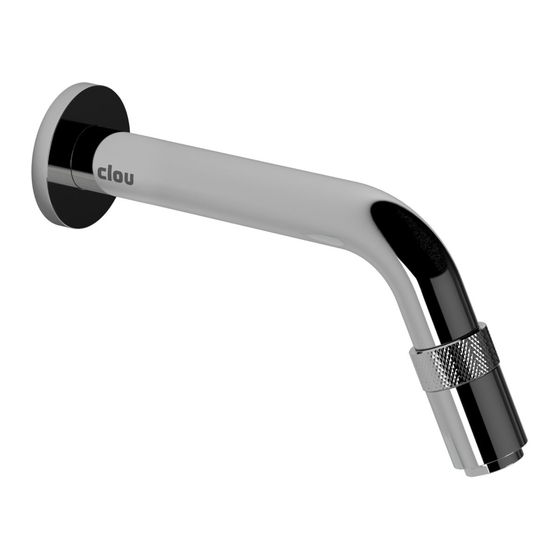
Sommaire des Matières pour clou New Flush 2 CL/03.13420.02
- Page 1 New Flush 2 - handbasin Aluite, without tap hole, with drain plate, matt white CL/03.13420.02 Montage instructies Installation instructions Notice de montage Montageanweisungen REV 02 08.09.2021...
- Page 2 Alle vermelde afmetingen executing the action. in deze handleiding dienen te worden - Clou b.v. can not be held responsible for the results of improper use, improper geverifieerd alvorens de actie uit te voeren. - Clou b.v. kan niet verantwoordelijk worden...
- Page 3 éventuellement verfliesten Untergrund vorgesehen. Für consolider le mur si nécessaire. andere Untergründe prüfen Sie hier die - Clou b.v. se réserve le droit pour tout erforderlichen Befestigungsmaterialien, die changement technique ou optique par Sie in Eigenverantwortlichkeit beschaffen.
- Page 4 Gegenstände auf das Produkt passend ist. Gebruiksvoorschriften: Zie ook de onderhoudsvoorschriften op www.clou.nl max. User’s instructions: 15 kg See also the maintenance guides at www.clou.nl Instructions d’utilisation: Consultez également les instructions de nettoyage sur www.clou.nl Gebrauchsanweisungen: Sehen Sie auch die Wartungsanweisungen am www.clou.nl...
- Page 5 42,50 151,50 42,50...
- Page 6 New Flush 2 - handbasin Spare parts: Pièces de rechange: Matt white, without tap hole, with drain plate Ersatzteile: CL/03.13420.02 CL/06.13410 CL/1060.3001.40 part 1/2 CL/1060.3001.40 part 2/2 CL/1060.3000.40 CL/1080.2000 Dimensions in mm, for reference only / 02.09.2021 / rev_01 www.clou.nl...
- Page 7 - CL/03.13420.02 norm. 660 max. 730 min. 500 n mm, for reference only / 01.09.2021 / rev_02...
- Page 8 norm. 660 max. 730 min. 500...
- Page 9 Boor het kraangat met een speedboor (ø 35 mm). Boor het laatste stuk vanaf de bovenzijde. Sla deze stap over als u een wandmontage kraan heeft. Drill the tap hole with a spade bit (ø 35 mm). Drill the last bit from the topside.
- Page 10 Duidt met potlood en waterpas de gewenste hoogte X van de fontein aan. (aangeraden: X = 900 mm) Mark with pencil and level the preferred height X of the handbasin. (recommended: X = 900 mm) Marquer avec un crayon et avec un niveau la hauteur souhaitée X du lave-mains.
- Page 11 Boor de gaten (ø 10 mm). Drill the holes (ø 10 mm). Percer les trous (ø 10 mm). Bohren Sie die Löcher (ø 10 mm). ø 10 mm ø 10 mm Steek de pluggen in de gaten en schroef de stokschroeven in de pluggen.
- Page 12 Plaats de fontein op de stokschroeven en bevestig met de kraagmoeren. Place the handbasin on the dowel screws and fix with the collar nuts. Placer le lave-mains sur les goujons et fixer avec les écrous à collerette. Bringen Sie das Handwaschbecken auf den Stockschrauben an und befestigen Sie es mit Spannmuttern.
- Page 13 Bevestig de afvoer (inbegrepen) in de fontein. Mount the drain (included) in the handbasin. Fixer la bonde (incluse) dans le lave-mains. Befestigen Sie den Ablauf (im Liefe- rumfang enthalten) am Handwach- becken. Bevestig de sifon (niet inbegrepen) aan de afvoer en aan de afvoerleiding. Attach the trap (not included) to the drain and to the waste pipe.
- Page 14 Pas de hoogte van de afvoerplug aan zodat het water voldoende snel doorstroomt. Adjust the height of the drain cap in a way that the water runs of fast enough. Ajuster la hauteur du bonde de la crépine d’une manière dont l’eau court assez rapide.
- Page 15 Duw aan de achterzijde om de afvoer- plaat te verwijderen (1). De afvoer- plaat kan vervolgens aan de voorzijde worden vastgepakt (2). Push at the rear in order to remove the drain plate (1). The drain plate can then be grabbed at the front (2). Presser à...
- Page 16 Clou. Bath findings. Clou bv Thermiekstraat 1 NL-6361 HB Nuth T +31 (0)45 524 56 56 info@clou.nl www.clou.nl Looking for inspiration?


