Table des Matières
Publicité
Les langues disponibles
Les langues disponibles
Liens rapides
Quick Start Guide / Safety Information
EN
Guía Rápida / Información de Seguridad
ES
Guide de démarrage rapide / Information
FR
de sécurité
This document applies to the following family of devices:
/ Este document afecta a los siguientes dispositivos:
/ Ce document s'applique à la famille de produit :
PAT4 / * / * / *
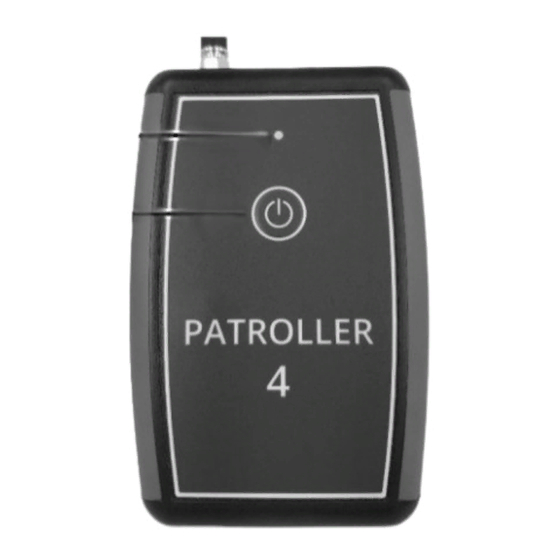
•
USB
Antenna
Antena
Antenne
LED
Button
Botón
Bouton
Introduction:
This guide covers most basic operations including
connections and commissioning.
For more details, refer to www.hwmglobal.com
The Patroller 4 is an interface that is required for
setup and configuration of various HWM devices.
Please refer to your main product guide for more
details.
Contents:
Patroller 4, USB cable, antenna (various options), car
adaptor (optional), mains adaptor (optional).
Installation Instructions:
1. Attach antenna. Check safety section for antenna
position and tightening guidelines. For maximum
transmission range the antenna should point
upward (vertical polarization) and should be kept
MAN-154-0002-C
Patroller 4
EN
clear of obstructions, particularly metallic
surfaces.
2. Do not expose the Patroller 4 to moisture.
Use Instructions:
Switch unit on/off:
1. Turn unit "ON": Press button. Red LED indicates
unit off. Hold button for 2 seconds until green.
2. Turn unit "OFF": Press button. Green LED
indicates unit on. Hold button for 2 seconds until
red.
3. Short press indicates status. Red = off, Green =
ON.
4. Unit will automatically power off if not used for 30
minutes.
Connecting to HWM application:
5. If using PC application, connect to PC via USB
cable.
6. If using a mobile phone app, connect with the
phone using Bluetooth by following the
instructions in the app guide.
Battery operation – LED meaning:
7. LED flashes red every 5 seconds: No devices
detected.
8. LED flashes green when compatible HWM devices
are in radio range and transmit a message.
9. LED flash is green when the battery is OK. LED
flash is red when the battery is low; Charge the
unit.
Charging operation – LED meaning:
10. LED flashes red twice, every 5 seconds: Battery
very low. Radio functions disabled.
11. LED red: Charging.
LED green: Charging complete.
LED flashes when compatible HWM devices are
in radio range and transmit a message.
Unit always functions when powered by cable,
except (see 10).
Charging Instructions:
1. Connect USB cable between the unit and a
powered USB connector (Car adaptor or mains
adaptor, etc).
2. LED displays red until fully charged, then green.
Page 1
Publicité
Table des Matières

Manuels Connexes pour HWM Patroller 4

Sommaire des Matières pour HWM Patroller 4
- Page 1 11. LED red: Charging. For more details, refer to www.hwmglobal.com LED green: Charging complete. The Patroller 4 is an interface that is required for LED flashes when compatible HWM devices are setup and configuration of various HWM devices. in radio range and transmit a message.
- Page 2 Under HWM-Water Ltd.’s Terms and Conditions of Sale, customers are responsible for the cost of returning Waste Electrical and Electronic Equipment to HWM-Water Ltd and we are responsible for the costs of recycling and reporting on that waste Instructions for returning Waste Electrical and Electronic Equipment:...
- Page 3 This transmitter must not be co-located or operating in conjunction with any other antenna or transmitter. As a distributor of batteries HWM-Water Ltd will accept old batteries Changes or modifications not expressly approved by the party back from customers for disposal, free of charge, in accordance with responsible for compliance could void the user's authority to operate the Battery Directive.
- Page 4 Esta guía cubre la mayor parte de las operaciones installation of equipment. básicas incluidas conexiones y puesta en marcha. If any problems occur, you should notify HWM or its authorised Para más detalles consultar en representative, giving full details of the problem, the model and www.hwmglobal.com...
-
Page 5: Instrucciones De Carga
1. Conecte el cable USB entre la unidad y un Este equipo contiene un transmisor y receptor de radio. El uso de • antenas y accesorios no autorizados por HWM puede degradar el conector USB con alimentación (adaptador para funcionamiento del producto y puede dar lugar a exposiciones a automóvil o adaptador de alimentación, etc.). - Page 6 HWM-Water Ltd fabricados desde el 13 de agosto de 2005. Declaración de cumplimiento normativo: Por la presente, HWM-Water Ltd declara que este equipo cumple con lo Productos HWM-Water suministrados después del 13 de siguiente: agosto de 2005 se puede identificar por el siguiente símbolo:...
- Page 7 HWM al que se envió el equipo. Recibirá asesoría Introduction : técnica y / o instrucciones de envío dependiendo de la naturaleza del problema. Si el problema no se puede resolver, Ce guide couvre les opérations courantes incluant se le emitirá...
-
Page 8: Instructions De Charge
Cet équipement contient un transmetteur radio. L'utilisation • secteur etc.). d'antennes et d'accessoires non autorisés par HWM peut annuler la conformité du produit et entraîner des expositions aux RF allant 2. La LED rouge reste allumée jusqu’à la charge au-delà des limites de sécurité établies pour cet équipement. -
Page 9: Veuillez Noter
à la législation locale. En tant que distributeur de piles, HWM-Water Ltd acceptera les piles usagées en vue de leur élimination gratuite conformément à la Les déchets d'équipements électriques et électroniques et les batteries directive relative aux piles. -
Page 10: Garantie
Est exploité conformément aux pratiques standard de l'industrie. En tant que recours exclusif en cas d’infraction à la garantie, HWM réparera ou remplacera (à sa discrétion) le matériel non conforme. HWM décline toute responsabilité pour les dommages fortuits, spéciaux, punitifs ou consécutifs résultant d'un défaut ou d'un dysfonctionnement de l'équipement vis-à-... - Page 11 MAN-154-0002-C Page 11...
- Page 12 United Kingdom +44 (0)1633 489479 www.hwmglobal.com ©HWM-Water Limited. This document is the property of HWM-Water Ltd. and must not be copied or disclosed to a third party without the permission of the company. Copyright reserved. [MAN-154-0002-C Patroller 4 Quick Start Guide and Safety.docx]...