Publicité
Les langues disponibles
Les langues disponibles
Liens rapides
RHG580/1IN/1 , RHG580/1PN/1
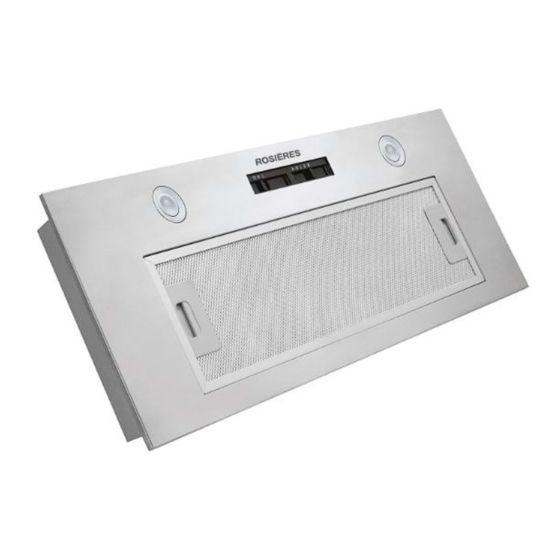
Cooker Hood
Instruction Manual
ENGLISH(EN)--------------------------------------------------------------------------------page 001
FRENCH(FR) --------------------------------------------------------------------------------page 011
Publicité

Sommaire des Matières pour ROSIERES RHG580/1IN/1
- Page 1 RHG580/1IN/1 , RHG580/1PN/1 Cooker Hood Instruction Manual ENGLISH(EN)--------------------------------------------------------------------------------page 001 FRENCH(FR) --------------------------------------------------------------------------------page 011...
- Page 2 Cooker Hood Instruction Manual...
- Page 3 Content 1…………………………………..………………………………Safety instructions 2…………………………………..………………………………Installation 3…………………………………..………………………………Start using your cooker hood 4…………………………………..………………………………Troubleshooting 5…………………………………..………………………………Maintenance and cleaning 6…………………………………..………………………………Environment protection...
- Page 4 SAFETY INSTRUCTIONS his manual explains the proper installation and use of your cooker hood, please read it carefully before using even if you are familiar with the product. The manual should be kept in a safe place for future reference. Never to do: Always to do: o not try to use the cooker hood...
- Page 5 Always to do: Always to do: lways put lids on pots and pans aution: The appliance and its ● ● when cooking on a gas cooker. accessible parts can become hot during operation. Be careful to avoid hen in extraction mode, air in the ●...
- Page 6 INSTALLATION (VENT OUTSIDE) If you have an outlet to the outside, your cooker hood can be connected as below picture by means of an extraction duct (enamel, aluminum, flexible pipe or inflammable material with an interior diameter of 150mm) 1. Before installation, turn the unit off and unplug it from the outlet. 2.
- Page 7 7. Install the expansion pipe:Attach the expansion pipe onto the one-way-valve. Fix the expansion pipe on the valve by cable tie. Lift up expansion pipe till it out of the wall through the hole on the wall. Note:The expansion pipe is not included in the product. WARNING: ...
- Page 8 One way valve and the outlet Take down the one way valve are not tightly sealed and seal with sealant. Oil leakage Leakage from the connection Take chimney down and seal. of chimney and cover Lights not Replace globes as per this Broken/Faulty globes working instruction.
- Page 9 CONTROL PANEL SURFACE The inlay control panel can be cleaned using warm soapy water. Ensure the cloth is clean and well wrung before cleaning. Use a dry soft cloth to remove any excess moisture left after cleaning. Important Using neutral detergents and avoid using harsh cleaning chemicals, strong household detergents or products containing abrasives,as this will affect the appliance appearance and potentially remove any printing of artwork on the control panel and will void manufactures warrantee.
- Page 10 NOTE: • Make sure the filter is securely locked. Otherwise, it would loosen and cause dangerous. • When activated carbon filter attached, the suction power will be lowered. BULB REPLACEMENT Important : The bulb must be replaced by the manufacturer, its service agent or similarly qualified persons.
- Page 11 ENVIRONMENTAL PROTECTION: This appliance is labelled in accordance with European Directive 2012/19/EU regarding electric and electronic appliances (WEEE). The WEEE contain both polluting substances (that can have a negative effect on the environment) and base elements (that can be reused). It is important that the WEEE undergo specific treatments to correctly remove and dispose of the pollutants and recover all the materials.
- Page 12 Hotte aspirante Manuel d’instruction...
- Page 13 Sommaire 1 ......................Consignes de sécurité 2 ........................... Installation 3 ................Commencez à utiliser votre hotte aspirante 4 ........................... Dépannage 5 ......................Entretien et nettoyage 6 ....................Protection de l’environnement...
- Page 14 CONSIGNES DE SÉCURITÉ Ce manuel explique comment installer et utiliser correctement votre hotte aspirante. Veuillez le lire attentivement avant toute utilisation même si vous connaissez bien le produit. Le manuel doit être conservé en lieu sûr pour pouvoir le consulter en cas de besoin. exemple quand vous changez une À...
- Page 15 À toujours faire : À toujours faire : ●Placez toujours le couvercle sur les ●Attention : L’appareil et ses parties accessibles peuvent devenir chauds casseroles et les poêles quand vous durant le fonctionnement. Évitez de cuisinez sur une cuisinière à gaz. toucher les éléments qui chauffent.
- Page 16 INSTALLATION (ÉVENT À L’EXTÉRIEUR) Si vous avez une sortie vers l’extérieur, votre hotte aspirante peut être raccordée comme sur l’image ci-dessous au moyen d’un conduit d’extraction (émail, aluminium, tuyau flexible ou matériau ininflammable avec un diamètre intérieur de 150 mm) 1.
- Page 17 refoulement.Fixez la gaine extensible au clapet avec un collier de serrage. Soulevez la gaine extensible en la faisant sortir par le mur à travers le trou réalisé dans le mur. Remarque : la gaine extensible n’est pas fournie avec le produit. AVERTISSEME ...
- Page 18 DÉPANNAGE Problème Cause possible Solution Sélectionnez une position du Le ventilateur est éteint La lumière est allumée commutateur du ventilateur. mais le moteur ne Panne du commutateur du ventilateur Contactez le centre d’assistance. fonctionne pas Panne du moteur Contactez le centre d’assistance. Les fusibles de la maison ont sauté...
- Page 19 ACIER INOXYDABLE Il faut nettoyer régulièrement (par ex. une fois par semaine) l’acier inoxydable pour garantir une longue durée de vie. Essuyez-le avec un chiffon doux et sec. Un liquide de nettoyage spécialement conçu pour l’acier inoxydable peut être utilisé. REMARQUE : Veillez à...
- Page 20 charbon actif tous les trois ou six mois en fonction de vos habitudes de cuisine. La procédure d’installation du filtre à charbon actif est indiquée ci-dessous. (1) Il faut d’abord détacher le filtre en aluminium. Appuyez sur le verrou et tirez-le vers le bas.
- Page 21 PROTECTION DE L’ENVIRONNEMENT Cet appareil est conforme à la directive Européenne 2012/19/UE relative aux règlements 2013 sur les Déchets d’équipements électriques et électroniques (DEEE) (Waste Electrical and Electronic Equipment - WEEE). La catégorie DEEE recouvre à la fois les substances polluantes (pouvant avoir des retombées négatives sur l’environnement) et les composants de base (pouvant être réutilisés).


