Publicité
Liens rapides
Bedienungsanleitung
Instruction manual
Notice d'utilisation
Gebruiksaanwijzing
Istruzioni per l'uso
Bruksanvisning
Instrucciones de uso
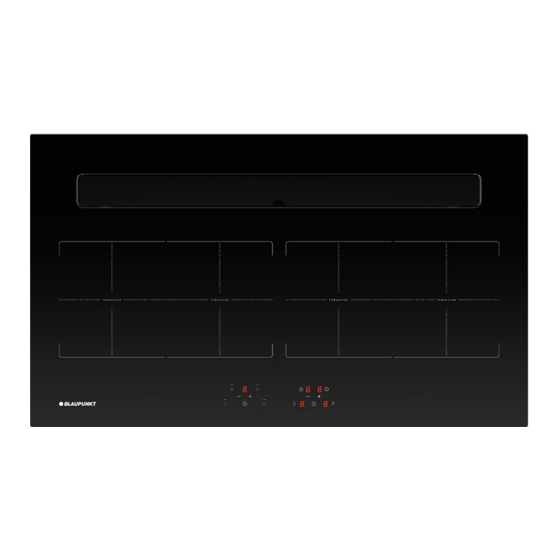
5IX94291
Muldenlüfter
Downdrafts
Kookvelden met afzuigkap
Tables de cuisson avec hotte aspirante
Placas vitrocerámicas con campana
extractora
Häll med ångutsug
Piani cottura con cappa integrata
Publicité

Sommaire des Matières pour Blaupunkt 5IX94291
- Page 1 Bedienungsanleitung Instruction manual Notice d’utilisation Gebruiksaanwijzing Istruzioni per l’uso Bruksanvisning Instrucciones de uso 5IX94291 Muldenlüfter Downdrafts Kookvelden met afzuigkap Tables de cuisson avec hotte aspirante Placas vitrocerámicas con campana extractora Häll med ångutsug Piani cottura con cappa integrata...
- Page 2 Per tutte le operazioni di installazione e manutenzione utilizzare guanti da lavoro Always wear work gloves for all installation and maintenance operations Bei allen Installations- und Instandhaltungsarbeiten immer Schutzhandschuhe tragen. Draag bij alle installatie- en onderhoudswerkzaamheden werkhandschoenen. Todas las operaciones de instalación y mantenimiento se deben realizar utilizando guantes de trabajo. Para todas as operações de instalação e manutenção, utilize luvas adequadas para este tipo de atividade Πάντοτε...
- Page 3 < 150 mm ≥ 150 mm...
- Page 4 Bridge Bridge 3,7 Kw 3,7 Kw Zone 1 Zone 2 Zone 3 Zone 4 2,1 Kw , Booster 3 Kw 2,1 Kw , Booster 3 Kw 2,1 Kw , Booster 3 Kw 2,1 Kw , Booster 3 Kw...
- Page 6 X + 513 X + 488 X - 17 ( X ) MIN 827 / MAX 982 X + 86 X - 10 X + 213 X - 32 X + 211 106.5 97.1 R 20...
- Page 7 5IX94291 auf 4 verschiedene Weisen installiert werden; wählen sie den Montagetyp, der am besten zu ihrem Küchenmöbel passt. 5IX94291 can be installed in 4 different modes to better suit the layout of every kitchen; choose the mounting type that is more suitable for your furniture.
- Page 8 Installation Version 1 Installatie versie 1 Installation version 1 Versión de instalación 1 Installation version 1 Installazione versione 1 optional...
- Page 9 Installation Version 1 Installatie versie 1 Installation version 1 Versión de instalación 1 Installation version 1 Installazione versione 1 MIN 827 / MAX 982 X-17,5 ( X ) R 10...
- Page 10 Installation Version 2 Installatie versie 2 Installation version 2 Versión de instalación 2 Installation version 2 Installazione versione 2 optional...
- Page 11 Installatie versie 2 Installation Version 2 Versión de instalación 2 Installation version 2 Installazione versione 2 Installation version 2 MIN 827 / MAX 982 X - 17,5 ( X ) R 10...
- Page 12 Installation Version 3 Installatie versie 3 Installation version 3 Versión de instalación 3 Installation version 3 Installazione versione 3 optional...
- Page 13 Installation Version 3 Installatie versie 3 Installation version 3 Versión de instalación 3 Installation version 3 Installazione versione 3 MIN 827 / MAX 982 X - 187,5 ( X ) R 10...
- Page 14 Installation Version 4 Installatie versie 4 Installation version 4 Versión de instalación 4 Installation version 4 Installazione versione 4 optional...
- Page 15 Installation Version 4 Installatie versie 4 Installation version 4 Versión de instalación 4 Installation version 4 Installazione versione 4 MIN 827 / MAX 982 X -187,5 ( X ) R 10...
- Page 16 Flächenbündige Kochfelder Hinweise zum Einbau Ein flächenbündiges Kochfeld ist nur für den Einbau in Naturstein (Granit, Marmor), Massivholz und geflieste Arbeitsplatten geeignet. Bei Arbeitsplatten aus anderen Materialien erfragen Sie bit- te beim jeweiligen Hersteller, ob sie für den Einbau eines flächenbündigen Kochfeldes geeignet ist. Flush Cooktop Notes about Installation A flush cooktop is only appropriate for installation in counters made of natural stone (granite or...
- Page 17 slim g5 SEZ. A-A X-12.5 R 10 Netzanschlusskasten...
- Page 18 Von hier ab gelten die Montageanleitungen für alle 4 Installationswei- sen; achten Sie auf die Ausrichtung des Motors und des Anschlusses beim ausgewählten Installationstyp. From this point on, the assembly instructions apply to each of the four setup modes; be careful to the position of the motor and the fitting, specific to the type of installation chosen.
- Page 19 AFV0010 optional optional optional...
- Page 20 X>140mm optional...


