Publicité
Les langues disponibles
Les langues disponibles
Liens rapides
INSTALLATION
INSTRUCTIONS
Honda Dealer: Please give a copy of these instructions to your customer.
PARTS LIST
(3)
(2)
(5)
(4)
No.
Description
(1)
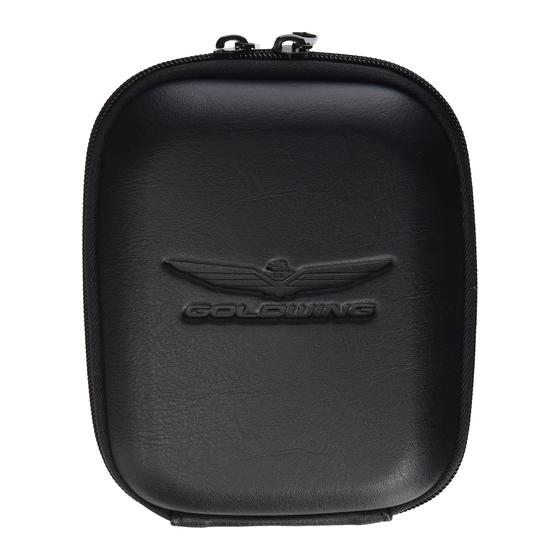
Fairing pouch
(2)
Fairing pouch base
(3)
4 mm screw
(4)
4 mm nut
(5)
Washer
TOOLS AND SUPPLIES REQUIRED
Electric drill motor
Drill bit 4.5 mm (#16)
Phillips ® screwdriver
Electric tape
Marker
Scale
Isopropyl alcohol
Shop towel
TORQUE CHART
Tighten all screws, bolts and nuts to their specified torques.
Refer to the Service Manual for the tightening torques of
removed parts.
Item
4 mm screw
© 2005 American Honda Motor Co., Inc - All Rights Reserved.
Accessory
FAIRING POUCH
P/N 08L56-MCA-300A
(1)
Qty
1
1
4
4
4
N·m
kgf·m
lbf·ft
1
0.1
0.7
08L56-MCA-3000-9A
Application
GL1800
INSTALLATION
1. Position the fairing pouch base on the left front pocket
to the dimension shown. Mark the front pocket through
the faring pouch base.
FAIRING POUCH BASE
Align the center of the
hole in the fairing pouch
base with this line.
MARKER
LEFT FRONT
FAIRING
POCKET
POUCH BASE
Publications No.
Issue Date
August 2005
Align the fairing pouch
base with the end of
the left cover button.
LEFT COVER
BUTTON
MARKER
1 of 4
Publicité

Sommaire des Matières pour Honda 08L56-MCA-300A
- Page 1 Issue Date P/N 08L56-MCA-300A INSTRUCTIONS August 2005 Honda Dealer: Please give a copy of these instructions to your customer. PARTS LIST INSTALLATION 1. Position the fairing pouch base on the left front pocket to the dimension shown. Mark the front pocket through the faring pouch base.
- Page 2 3. Install the fairing pouch base as shown. 4 mm NUTS Pull up and WASHER remove. WASHER FAIRING POUCH BASE 4 mm SCREWS LEFT FRONT POCKET 2 of 4 08L56-MCA-3000-9A © 2005 American Honda Motor Co., Inc - All Rights Reserved.
- Page 3 Date de parution P/N 08L56-MCA-300A D’INSTALLATION août 2005 Revendeur Honda: Prière de remettre une copie de ces instructions à votre client. LISTE DE PIECES INSTALLATION 1. Placer la base de pochette de carénage sur la poche avant gauche à la dimension indiquée. Marquer la poche avent à...
- Page 4 3. Installer la base de pochette de carénage de la manière indiquée. Relever et déposer. ECROUS DE 4 mm RONDELLE RONDELLE BASE DE POCHETTE DE CARENAGE POCHE AVANT GAUCHE VIS DE 4 mm 4 of 4 08L56-MCA-3000-9A © 2005 American Honda Motor Co., Inc - Tous droits réservés.


