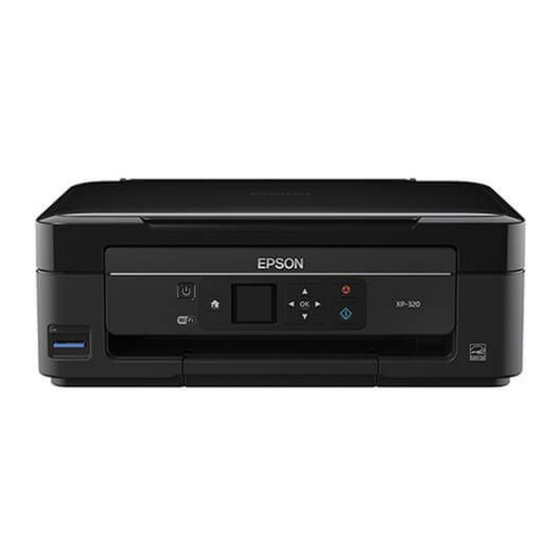
Epson XP-320 Guide Rapide
Masquer les pouces
Voir aussi pour XP-320:
- Guide de l'utilisateur (273 pages) ,
- Mode d'emploi (16 pages)
Publicité
Les langues disponibles
Les langues disponibles
Liens rapides
XP-320/XP-420/XP-424 Small-in-One
Start Here
1
Unpack
2
Turn on and configure
1
2
Caution:
Do not connect to your computer yet.
3
Install ink cartridges
4
Load paper
3
1
2
2
Caution:
Do not lower the control
panel without first squeezing the
release bar underneath or you may
damage the product.
1
4
Printer
®
Read these instructions before using your product.
Note for Spanish speakers/Nota para hispanohablantes: Para obtener instrucciones de configuración
en español, consulte la Guía de instalación en epson.com/support/xp320sp, epson.com/support/xp420sp
o epson.com/support/xp424sp (requiere una conexión a Internet).
Note:
Do not open ink cartridge packages until
you are ready to install the ink. Cartridges are
vacuum packed to maintain reliability.
To select English as your language, press OK.
1
If you want to change the language, press
it, then press OK.
Note:
control panel. For more information, see the online User's Guide.
4 minutes
2
2
1
Check the current paper settings on the
control panel.
To use these settings, press OK. If you
want to change the settings, press
or
to select Change, then press OK. Select
paper size, press OK, select paper type,
then press OK to confirm settings.
or
You can change the language later using the product's
Press
to prime the ink delivery system. Priming takes
about 4 minutes.
Note:
•
The printer is designed for use with Epson
not third-party cartridges or ink.
•
The cartridges included with the printer are designed for
printer setup and not for resale. After some ink is used for
priming, the rest is available for printing.
Caution:
Don't turn off the printer while it is priming or you'll
waste ink.
8½ × 11 inch
(216 × 279 mm)
4 × 6 inch
(102 × 152 mm)
English
to select
®
cartridges only,
Publicité

Sommaire des Matières pour Epson XP-320
- Page 1 English Start Here Read these instructions before using your product. Note for Spanish speakers/Nota para hispanohablantes: Para obtener instrucciones de configuración en español, consulte la Guía de instalación en epson.com/support/xp320sp, epson.com/support/xp420sp o epson.com/support/xp424sp (requiere una conexión a Internet). Unpack Note: Do not open ink cartridge packages until you are ready to install the ink.
- Page 2 Make sure it is securely connected as shown: EPSON and DURABrite are registered trademarks, Epson Connect is a trademark, and EPSON Exceed Your Vision is a registered logomark of Seiko Epson Corporation. Small-in-One is a registered trademark and Designed for Excellence is a trademark of Epson America, Inc.
- Page 3 Veuillez lire ces instructions avant d’utiliser le produit. Remarque pour les hispanophones : Pour obtenir des instructions de configuration en espagnol, consultez le Guía de instalación à l’adresse epson.com/support/xp320sp, epson.com/support/xp420sp ou epson.com/support/xp424sp (requiert une connexion à Internet). Déballez le produit...
- Page 4 Assurez-vous qu’il est bien branché tel qu’illustré ci-dessous : EPSON et DURABrite sont des marques déposées, Epson Connect est une marque de commerce et EPSON Exceed Your Vision est un logotype déposé de Seiko Epson Corporation. Small-in-One est une marque déposée et Designed for Excellence est une marque de commerce d’Epson America, Inc.


