Publicité
Liens rapides
340°
±45°
±45°
360°
NM-D135D3BLACK
EN
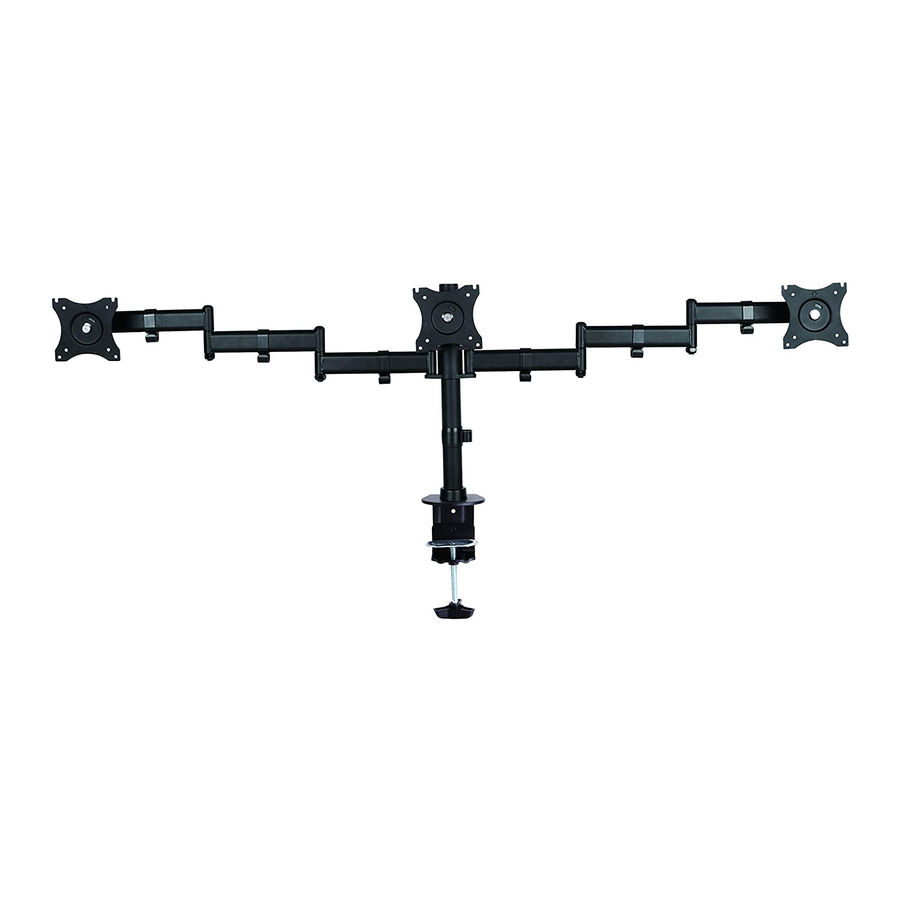
Monitor desk mount
NL
Monitor bureausteun
DE
Monitor Tischhalterung
FR
Support moniteur de bureau
IT
Supporto da scrivania per monitor
ES
Soporte de escritorio para monitor
PT
Suporte de mesa para monitor
DK
Bordbeslag skærm
INSTRUCTION MANUAL
180°
340°
NO
Bordstativ til skjerm
SE
Skrivbordsfäste för bildskärm
FI
Näytön pöytäteline
PL
Uchwyt nabiurkowy do monitora
CS
Stolní držák monitoru
SK
Držiak na monitor
RO
Suport de birou pentru monitor
WWW.NEOMOUNTS.COM
Publicité

Sommaire des Matières pour NeoMounts SELECT NM-D135D3BLACK
- Page 1 Monitor Tischhalterung Näytön pöytäteline Support moniteur de bureau Uchwyt nabiurkowy do monitora Supporto da scrivania per monitor Stolní držák monitoru Soporte de escritorio para monitor Držiak na monitor Suporte de mesa para monitor Suport de birou pentru monitor Bordbeslag skærm WWW.NEOMOUNTS.COM...
- Page 2 Tool NM-D135D3BLACK 75x75 - 0-8 kg | 0-41 cm 4-63 cm 100x100 mm 0-17,6 lbs (3x) PARTS A. (x1) B. (x1) C. (x1) D. (x1) E. (x1) F. (x6) G. (x1) H. (x1) I. (x5) J. (x1) K. 3mm L. 5mm M.
- Page 3 STEP 1 Mount the desk grommet to the rod and install the grommet through the desk Monteer de bureaudoorvoer aan de stang en installeer de doorvoer in het bureau Montage der Tischklemme an der Stange und Fixierung der Tülle durch den Schreibtisch Montez le tube et les éléments sur l'oeillet puis fixez le à...
- Page 4 STEP 3 Install the cable clips Bevestig de kabelclips Montage der Kabel-Clips Installez les clips pour les câbles Fissa la clip del cavo Instale el clip del cable Instale o clip do cabo Przymocuj klipsy kablowe STEP 4 Install the monitors Installeer de monitoren Anbringen der Monitore * Not Included...
- Page 5 STEP 5 Adjust the torque Stel het koppel in Einstellen des Drehmoments +45° Réglage de la force de l'articulation du support Regolazione della coppia -45° Ajuste el tornillo Ajuste os parafusos Dostsosuj siłę docisku regulacji obrotu monitora STEP 6 Route the cables and insert the allen key into the slot for future use Werk de kabels weg en bewaar de inbussleutels in de houder voor toekomstig gebruik...
- Page 6 STEP 7 Adjust the mount to your desired position and loosen or tighten the adjustment knob if necessary 360° 360° 360° Stel de steun in op de gewenste positie en draai de stelknop indien nodig Einstellen die Halterung in der gewünschten Position und fixieren oder lockern des Drehknopfs wenn notwendig Ajustez la couronne à...

