Yealink T53W Guide D'installation Rapide
Masquer les pouces
Voir aussi pour T53W:
- Guide utilisateur (13 pages) ,
- Manuel utilisateur (9 pages) ,
- Fiche produit (5 pages)
Publicité
Les langues disponibles
Les langues disponibles
Liens rapides
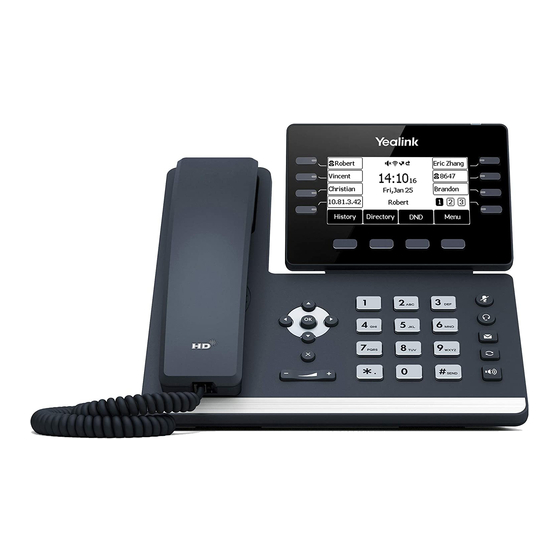
Yealink T53W IP Phone
Quick Installation Guide
Package contents
Confirm your package contents, then follow the instructions
to install your phone.
Yealink T53W
Handset
IP phone
cord
Step 2
Assemble your phone
Attach the phone stand to the body. Align the stand
the slots
, and slide up until you hear a click.
B
B
DC5V
PC
Internet
C
A
Connect the phone handset to the
handset jack
using the coiled
C
phone cord.
NOTE
If you need additional assembly instructions, please
review the phone manufacturer's user manual included in
your box.
Step 4
Get started!
Once connected to the Internet, the startup process will commence automatically. It will take several minutes,
during which time your new IP phone may restart a few times. This is expected behavior.
Once you see your extension number (e.g. x1001) displayed on the screen along with your name, your phone is ready
to use to make and receive calls!
Troubleshooting
Phone display is not illuminated
•
Connect the phone to AC power.
Phone displays "Network is Unavailable"
•
Make sure the phone is connected to the Internet. If you
suspect issues with your Wi-Fi network, try connecting
via Ethernet to further troubleshoot. Make sure the Ethernet
cable is connected to the phone's INTERNET port.
Phone displays "No Service" message or doesn't have
extension number listed on line keys
•
Confirm that the IP phone is assigned to a user.
•
Log into Ooma Office Manager, navigate to the Devices
section, select the user to whom the device should be
assigned, and assign the phone to the desired user.
Ooma-QIG-Yealink-T53W Phone-EN-FR-Aug2020-R8.indd 1
Ooma-QIG-Yealink-T53W Phone-EN-FR-Aug2020-R8.indd 1
Power
Ethernet
adapter
cable
with
A
C
Introduction
Setting up your Yealink T53W IP phone with Ooma Office is
quick and easy. Follow the instructions below to install your
phone. You should be up and calling in a few minutes!
NOTE
If you do not have an Ooma Office account,
please visit
http://office.ooma.com/signup
Step 1
Add phone to your account
If your phone is labeled
Ready to
you may skip this step and continue to Step 2.
Otherwise, you will need to add your new
phone to your Ooma Office account.
Visit
http://office.ooma.com/add_device
and simply follow the on-screen instructions.
Step 3
Connect your phone
Your phone can be connected to the Internet via Wi-Fi
or Ethernet.
Wi-Fi
Connect your phone to power. Once the phone powers up,
you are ready to connect to your Wi-Fi network. The phone
will prompt you to connect, or go to Menu
Basic Settings
Wi-Fi and then
›
select the desired network.
For detailed instructions, please visit
support.ooma.com/yealink-wi-fi.
Ethernet
Use the Ethernet cable that came with
the phone to connect the INTERNET
port
on the back of the phone and
D
then connect to your router or switch.
Connect the power supply as shown
to the right. Skip this step if using
DC5V
PC
Internet
Power Over Ethernet (PoE).
If the device is already assigned to a user
•
Restart the phone by disconnecting its power, wait for
30 seconds, and then reconnect its power supply.
•
Factory reset the phone by pressing and holding the OK
button for ten seconds. Click OK when you see a warning that
says, "reset to factory setting." Once reset, the phone will
attempt its startup process as described in Step 3.
Need help?
If the phone still has no service, please contact
Ooma Office Support at 866-939-6662 (US) or 877-948-6662
(Canada).
Call,
READY
TO CALL
Settings
›
›
Wi-Fi
1. Wi-Fi
On
2. Wi-Fi Status
3. Known Network(s)
4. Available Network(s)
Back
WPS
Scan
Enter
DC5V
PC
Internet
D
710-0204-100
9/14/20 7:46 PM
9/14/20 7:46 PM
Publicité

Manuels Connexes pour Yealink T53W


Sommaire des Matières pour Yealink T53W
- Page 1 Introduction Setting up your Yealink T53W IP phone with Ooma Office is quick and easy. Follow the instructions below to install your Yealink T53W IP Phone phone. You should be up and calling in a few minutes! Quick Installation Guide...
- Page 2 Introduction La configuration de votre téléphone IP Yealink T53W avec Ooma Office est simple et rapide. Veuillez suivre les Téléphone IP instructions ci-dessous pour installer votre téléphone. Yealink T53W Cela ne prend que quelques minutes et vous pourrez passer vos premiers appels.