Sommaire des Matières pour Klark Teknik DN32-LIVE
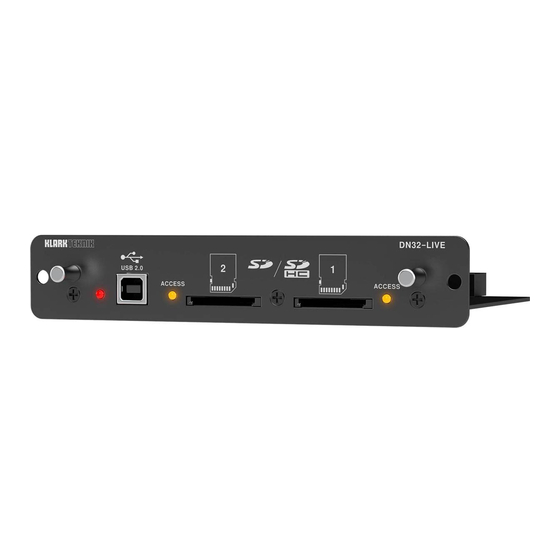
- Page 1 Quick Start Guide DN32-LIVE SD/SDHC and USB 2.0 Expansion Module for 32 Bidirectional Channels of Live Recording/Playback...
-
Page 2: Legal Disclaimer
This symbol, wherever it documentación adjunta. Por favor, que puedan producir calor. sources such as radiators, heat registers, owners. MIDAS, KLARK TEKNIK, device shall remain readily operable. appears, alerts you to the lea el manual. 9. No elimine o deshabilite nunca... -
Page 3: Garantía Limitada
à l’intérieur du châssis, si indica que este aparato tropical et/ou modéré. Pour éviter tout risque dueños. MIDAS, KLARK TEKNIK, terre. Les prises bipolaires possèdent l’appareil a été exposé à la pluie ou no debe ser tratado de choc électrique, LAB GRUPPEN, LAKE, TANNOY, deux contacts de largeur diff érente. -
Page 4: Garantie Limitée
10. Verlegen Sie das Netzkabel so, weist darauf hin, das Pour connaître les termes et conditions tropfende Flüssigkeiten in das Gerät Inhaber. MIDAS, KLARK TEKNIK, (ou a secção de trás). Não existem peças dass es vor Tritten und scharfen Kanten Produkt entsprechend de garantie applicables, ainsi que gelangen können. - Page 5 The DN32-LIVE interface card expands on the already stellar performance of the DN32-USB card that has been standard in M32 consoles bocas de ar quente, fogões de sala pessoal qualifi cado. É necessária uma for years.
-
Page 6: Usb Operation
4. USB Operation The USB connection on the DN32-LIVE card provides 32 channels of bi-direction audio I/O via USB 2.0, as well as MIDI I/O and remote DAW control via HUI/MackieControl emulation. Make sure to download and install the free ASIO driver from klarkteknik.com if you are using a Windows PC. - Page 7 PC, then this mode might be more appropriate for you. First, it will slow the required bandwidth on the interface down. The DN32-LIVE card features a pair of SD/SDHC slots that provide 32 channels of multitrack recording and playback. Simple session Second, there will be no excessive I/O tracks in your DAW confi guration that might clutter your setup.
- Page 8 5.2 Recording and File Management Audio recording on the DN32-LIVE card can accommodate either 8, 16, or 32-channel sessions of 44.1/48 kHz / 32-bit PCM WAV fi les. As soon as recording is initiated to one of the SD cards, a new session is automatically created, allowing the entire take to be organized cohesively.
-
Page 9: Firmware Update
Connectors To attach the battery, fi rst turn the console power off and remove the DN32-LIVE card from the expansion slot. Locate the battery slot and USB 2.0 high speed, type-B (audio/MIDI interface) install the battery, making sure to orient the positive end toward the “+” mark on the slot. - Page 10 DN32-LIVE Quick Start Guide...


