Publicité
Les langues disponibles
Les langues disponibles
Liens rapides
IB506005EN
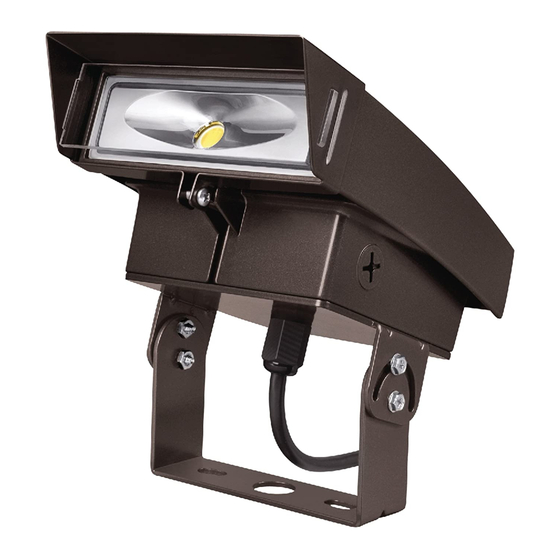
Installation Instructions - Crosstour LED Knuckle Kit
Instructions d'installation - Charnière Crosstour DEL
Instrucciones de instalación - Kit De Codo LED Crosstour
WARNING
Make certain power is OFF before starting installation
or attempting any maintenance. Risk of fire/electric
shock. If not qualified, consult an electrician.
WARNING
RISK OF ELECTRIC SHOCK—Disconnect power at fuse
or circuit breaker before installing or servicing.
WARNING
RISK OF BURN—Disconnect power and allow fixture
to cool before servicing.
WARNING
RISK OF PERSONAL INJURY—Fixture may become
damaged and/or unstable if not installed properly.
IMPORTANT: Read before installing fixture. Retain for future reference.
SAFETY: This fixture must be wired in accordance with the National Electrical Code and applicable local codes and
ordinances. Proper grounding is required to insure personal safety. Carefully observe grounding procedure under
installation section.
WARNING
DO NOT mount luminaire within 6" of a combustible
surface. DO NOT handle luminaire by the glass.
WARNING
Make certain power is OFF before starting installation
or attempting any maintenance.
N
ote:
These instructions do not claim to cover all
details or variations in the equipment, procedure,
or process described, nor to provide directions
for meeting every possible contingency during
installation, operation or maintenance. When
additional information is desired to satisfy a
problem not covered sufficiently for user's purpose,
please contact your nearest representative.
N
ote:
Specifications and dimensions subject to change
without notice.
Brand Logo
reversed out of
black
INS #
INS #
Publicité

Manuels Connexes pour LUMARK Crosstour LED

Sommaire des Matières pour LUMARK Crosstour LED
-
Page 4: Important
Instructions d’installation - Charnière Crosstour DEL AVERTISSEMENT AVERTISSEMENT Assurez-vous que l'alimentation électrique est HORS NE MONTEZ PAS le luminaire à moins de 15,2 cm TENSION avant de commencer l'installation ou de (6 po) d'une surface combustible. NE manipulez PAS le procéder à... - Page 5 Instructions d’installation - Charnière Crosstour DEL Séparez le couvercle du boîtier du dispositif crosstour du boîtier arrière. Retirez les joints percés indiqués sur le boîtier arrière. (Figure 2.) Utilisez les vis cruciformes 8-32 de 1,3 cm (0,5 po) fournies afin de fixer le boîtier arrière au support coudé de la charnière.
- Page 6 Instructions d’installation - Charnière Crosstour DEL 15° Côtes de la visière La lentille entre dans les fentes de la visière ici. Figure 5. Figure 6. OPTIONS DE VISIÈRE ET DE PARECHOC Pour l'installation de la visière seulement. Sélectionnez la bonne taille de lentille (Petite: modèles 7W, 18W et 26 W grande: modèle 38W.
- Page 10 Warranties and Limitation of Liability Please refer to www.eaton.com/LightingWarrantyTerms for our terms and conditions. Garanties et limitation de responsabilité Veuillez consulter le site www.eaton.com/LightingWarrantyTerms pour obtenir les conditions générales. Garantías y Limitación de Responsabilidad Visite www.eaton.com/LightingWarrantyTerms para conocer nuestros términos y condiciones. Eaton 1121 Highway 74 South Peachtree City, GA 30269...