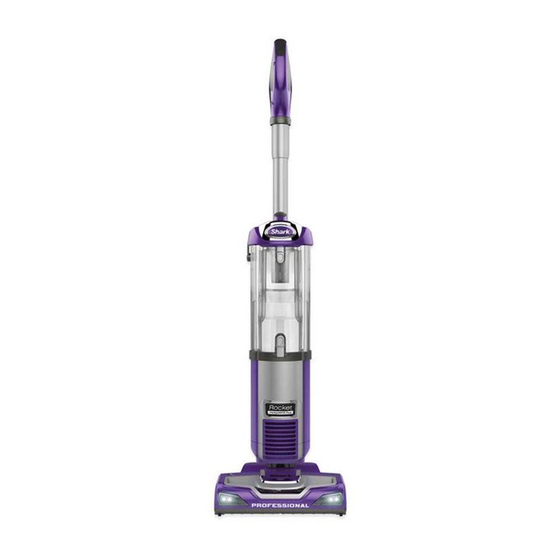
Sommaire des Matières pour shark Rocket NV472 Série
- Page 1 OWNER’S GUIDE MANUEL DU PROPRIÉTAIRE MANUAL DEL USUARIO NV472 SERIES 8 0 0 . 7 9 8 . 7 3 9 8 w w w . s h a r k r o c k e t . c o m...
-
Page 2: Technical Specifications
This Owner’s Guide is designed to help you get a complete understanding of contained herein are subject to change without notice. your new vacuum cleaner. Please read it carefully and keep for future reference. If you should have a question about your Shark Rocket , please call the Shark ®... -
Page 3: Important Safeguards
READ ALL INSTRUCTIONS BEFORE USE IMPORTANT SAFEGUARDS When using an electrical appliance, basic safety precautions should 24 Only use manufacturer’s recommended attachments. always be observed, including the following: 25 DO NOT incinerate batteries or expose to high temperatures. They may explode. WARNING 26 The illuminated crevice tool is not intended for use with rechargeable batteries. -
Page 4: Consignes De Sécurité Importantes
LISEZ TOUTES LES INSTRUCTIONS AVANT L’UTILISATION CONSIGNES DE SÉCURITÉ IMPORTANTES 25 NE PAS incinérer les batteries ni les exposer à des températures élevées. Elles peuvent faire Lorsque vous utilisez un appareil électrique, des précautions de sécurité de base explosion. devraient toujours être suivies, incluant celles qui suivent : AVERTISSEMENT 26 Le suceur plat illuminé... -
Page 5: Medidas Importantes De Seguridad
LEA COMPLETAMENTE LAS INSTRUCCIONES ANTES DE UTILIZARLO MEDIDAS IMPORTANTES DE SEGURIDAD 24 Use únicamente los accesorios recomendados por el fabricante. Al usar aparatos eléctricos, siempre debe seguir precauciones básicas de seguridad, incluyendo las siguientes: 25 NO incinere las baterías ni las exponga a altas temperaturas. Pueden explotar. ADVERTENCIA 26 Este cabezal esquinero con luz no está... - Page 6 Place the vacuum body onto floor nozzle. Insert handle into the top of the extension wand Insert the illuminated crevice tool and dusting (if not already assembled). brush onto the accessory holder as shown. Insert extension wand into top of the vacuum. Insert hose into hose connector.
- Page 7 Press POWER to clean bare floor surfaces, area Press POWER and BRUSHROLL to clean carpets. Place your foot gently on the floor nozzle and rugs or areas above-floors. The brushroll indicator lights will illuminate tilt the handle back to start cleaning. GREEN.
- Page 8 NOTE: The illuminated crevice tool is designed to Depending on the amount of reach required, You can also Lift-Away for portable cleaning on remove either the handle by pressing the HANDLE stairs. Simply remove the floor nozzle by pressing illuminate debris in dark areas. The LED light illuminates release button or handle with extension wand by the Nozzle Release button and attach accessories when the button is turned to on.
- Page 9 SUCTION CONTROL CORD HOOK HEIGHT ADJUSTMENT This unit is equipped with a suction control collar to For quick cord access, rotate upper hook 180° and This floor nozzle has been optimized to work on all help with push and pull on high pile carpets, area remove cord.
-
Page 10: Accessories
Illuminated Crevice Suceur plat illuminé Esquinero Iluminado Dusting Brush Brosse pour Cepillo limpiador Tool époussetage 156FLI650 156FLI650 134FLI480 134FLI480 156FLI650 134FLI480 Atteindre des espaces Llegar a espacios Cleans hard surfaces and Limpia superficies duras ACCESSORIES Reach tight spaces with restreints avec facilité. reducidos con facilidad. - Page 11 EMPTY THE DUST CUP CLEAN THE FILTERS Remove and rinse the HEPA filter frame once See cleaning schedule on page 2 every year. First, remove the floor nozzle by Press the dust cup release button and lift the pressing the red nozzle release button on the dustcup off the vacuum.
- Page 12 CHECK FOR BLOCKAGES b Remove any string, carpet fibers or hair that Always completely secure the battery may be wrapped around the brushroll. compartment. If the battery compartment does not REMOVE AND INSPECT: close securely, stop using the product, remove the 3 REPLACING THE BATTERY ON THE CREVICE 1 HOSE AND TUBES batteries, and call customer service.
-
Page 13: Diagnóstico De Problemas
Vacuum is not picking up dirt. Brush roll does not spin 1. Turn the unit off. No suction or light suction • Pull the handle toward you and release the floor 2. Unplug the vacuum. • Check filters to see if they need cleaning. Follow nozzle to engage the brushroll feature. - Page 14 NOTES / REMARQUES / NOTAS w w w . s h a r k r o c k e t . c o m...
-
Page 15: Garantie Limitée De Cinq (5) Ans
FIVE-YEAR (5) LIMITED WARRANTY GARANTIE LIMITÉE DE CINQ (5) ANS GARANTÍA LIMITADA DE CINCO (5) AÑOS EURO-PRO Operating LLC warrants this product to be free EURO-PRO Operating LLC garantit ce produit contre toute EURO-PRO Operating LLC garantiza este producto contra from material defects and workmanship for a period of five défectuosité... - Page 16 EURO-PRO Operating LLC Newton, MA USA 02459 Ville St. Laurent, Québec Canada H4S 1A7 NV472�26�IB�150109�3 Printed in China Illustrations may differ from actual product. Imprimé en Chine Les illustrations peuvent différées du produit actuel. © 2015 Euro-Pro Operating LLC Impreso en China El dibujo puede no ser igual al producto real.


