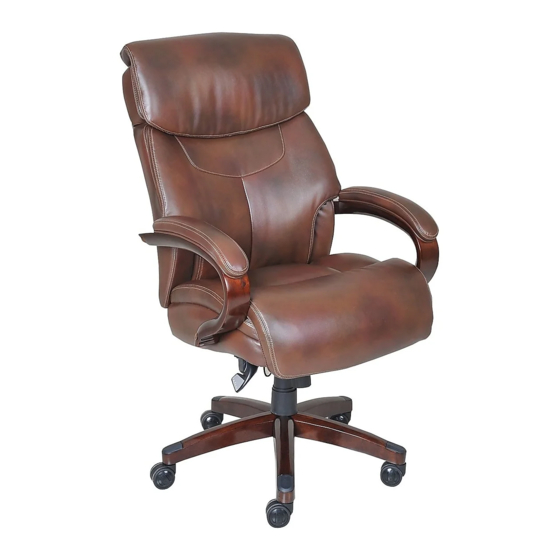
Sommaire des Matières pour LAZBOY BRADLEY
- Page 1 Designed to be comfortable, and built to stay that way. Conçu pour être confortable et créé pour rester ainsi. Executive Chair Fauteuil de direction Assembly Instructions Instructions d’assemblage Model / Nº d’article 44762 BRADLEY...
- Page 2 PARTS/PIÈCES Casters Star Base Gas Lift with Telescoping Cover Seat Plate Roulettes Base en étoile Vérin pneumatique avec couvercle Plaque de siège télescopique Quantity/Quantité: 5 Quantity/Quantité:1 Quantity/Quantité: 1 Quantity/Quantité: 1 Left Arm Right Arm Seat Cushion Back Cushion Accoudoir de gauche Coussin de siège Accoudoir de droite Coussin de dossier...
- Page 3 7/8” Screws 2-1/2” Screws 1-1/4” Screws Plastic Shroud Vis de 7/8 po Vis de 2 1/2 po Vis de 1 1/4 po Protecteur plastique Quantity/Quantité: 2 Quantity/Quantité: 2 Quantity/Quantité: 4 Quantity/Quantité: 1 2-1/2” Flat Screws Plastic Caps Allen Key Plats vis de 2 1/2 po Capuchons en plastique Clé...
- Page 4 Push Insert Pousser Insérer Assemble the lever Disassemble the lever Assembler le levier Désassembler le levier Step 4 Step 3 Insert Levers (D1 & D2) of Seat Plate (D) to the pre-attached Attach Seat Plate (D) to the bottom of the Seat Cushion (F) cable lever receivers on the underside of Seat Cushion (F) (with (with the front of the seat plate facing the front of seat the front of levers facing the front of seat cushion).
- Page 5 Step 5 Step 6 Attach the Back Cushion (G) to the Seat Cushion (F) by Insert 2-1/2" Flat Screws (L) into arm holes attaching positioning the back support plate over the Seat Plate (D) Arms (E1 & E2) (with front of arms facing the front of with1-1/4”...
- Page 6 Step 7 Step 8 Put the Plastic Shroud (H) over the Seat Plate (D) (with front Position the assembled chair upright with the seat of plastic shroud facing the front of seat cushion). Align plate facing down. Insert the Gas Lift with Telescoping shroud posts to holes on bottom of Seat Cushion (F) and Cover (C) into the center hole of the Seat Plate (D).
- Page 7 Step 9 Press the Plastic Caps (M) into armrest holes once all screws have been tightened. Étape 9 Mettez les capuchons en plastique (M) dans les trous des accoudoirs une fois les vis serrées.
-
Page 8: Function Instruction
Operating Instructions Mode d’emploi Function Instruction - 1 To Adjust Seat Height : While seated, lean forward and reach under the right side of the chair to find the lever. Lift the lever and raise your body up slightly to allow the chair to rise to the desired height. - Page 9 Function Instruction - 3 To Adjust Tension On The Tilt : Reach under the front center of the chair, grasp the round knob (R) and turn it counter- clockwise to stiffen the tilt mechanism for a heavier user. Turn the knob (R) clockwise to loosen the tilt mechanism for a lighter user.
- Page 10 Limited Warranty True Innovations seating products are warranted against defects in material and workmanship while owned by the “Original Purchaser”. The term “Original Purchaser” is defined as that party or entity which purchases True Innovations furniture from an authorized True Innovations retailer as shown by the original sales receipt. This warranty does not apply to “as is” or previously owned seating products.
-
Page 11: Garantie Limitée
Garantie limitée Les produits d’assise de True Innovations sont garantis contre tout défaut de matériau et de fabrication tant qu’ils restent la propriété de leur « acheteur initial ». Le terme « acheteur initial » se définit comme la partie ou l’entité ayant acheté le meuble True Innovations à un revendeur agréé... - Page 12 LA-Z-BOY is a trademark of La-Z-Boy Incorporated and is used under license to LF Products Pte Ltd. LA-Z-BOY est une marque de commerce de La-Z-Boy Incorporated et est utilisée sous licence à LF Products Pte Ltd.


