Table des Matières
Publicité
Les langues disponibles
Les langues disponibles
Liens rapides
Indoor Luminous Sounder
Carillon Lumineux pour intérieur
Instruction and operation manual
Manuel d'installation et d'utilisation
www.bodet-time.com
S'assurer à réception que le produit n'a pas été endommagé durant le transport pour réserve au transporteur
Upon receipt, always check the product for damage during shipment. If any is found, you may file a damage claim with the carrier.
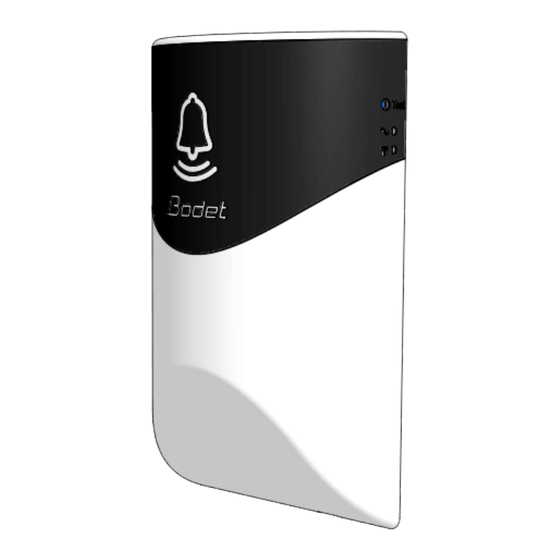
CARILLON LUMINEUX
MELODYS FLASH
BODET SA
BP1
49340 TREMENTINES
Fax: 02.41.71.72.01
1
Usine de Trémentines
Système de
Management certifié
.
Publicité
Table des Matières

Sommaire des Matières pour Carillon Lumineux Melodys Flash
- Page 1 CARILLON LUMINEUX MELODYS FLASH Indoor Luminous Sounder Carillon Lumineux pour intérieur Instruction and operation manual Manuel d’installation et d’utilisation BODET SA 49340 TREMENTINES Fax: 02.41.71.72.01 www.bodet-time.com Usine de Trémentines Système de Management certifié S’assurer à réception que le produit n’a pas été endommagé durant le transport pour réserve au transporteur...
-
Page 2: Table Des Matières
Table of contents 1 - MECHANICAL INSTALLATION ...............................3 2 - ELECTRICAL INSTALLATION ..............................4 2.1 - DIPS switches configuration ............................4 2.2 - Commissioning ................................4 3 - TECHNICAL CHARACTERISTICS ............................5 Table des matières 1 - INSTALLATION MÉCANIQUE..............................6 2 - INSTALLATION ÉLECTRIQUE..............................7 2.1 - Configuration DIPS.................................7 2.2 - Mise en service................................8 3 - CARACTÉRISTIQUES TECHNIQUES............................8 SAFETY INSTRUCTIONS - PRECAUTIONS OF USE... -
Page 3: Mechanical Installation
1 - MECHANICAL INSTALLATION Choose the location where the Melodys Flash is to be installed according to the present of the power source nearby (the power cable can be fed through the back of the product or through a knock-out on top of casing (use an electric drill and bit to clean out the knock-out)). -
Page 4: Electrical Installation
2nd dip switches chip: «INIT/CIRCUIT N°» - Dip switch 1: sets the Melodys Flash in INIT (initialisation) mode. in order to pair the Melodys Flash with a master clock (SIGMA). The INIT mode is activated on a change of position of the dip switch. -
Page 5: Commissioning
Powering on the Melodys Flash: When powered up for the first time the Melodys Flash is in the INIT mode (orange «Ψ» Led flashing). Set the Sigma master clock in the INIT mode (see the master clock user manual). Once the Melodys is initialized the «Ψ» Led turns red then green after the Melodys has received a DHF sounder control command from the master clock. -
Page 6: Installation Mécanique
1 - INSTALLATION MÉCANIQUE Définir l’emplacement du Melodys Flash en s’assurant de la proximité de l’alimentation (prévoir le passage du câble d’alimentation au dos du produit ou la découpe du boîtier en partie haute à l’aide d’une perçeuse et d’un foret acier). -
Page 7: Installation Électrique
2ème rangée de dips : «INIT/N°CIRCUIT» - Dip 1 : permet la mise en mode INIT (initialisation) du Melodys Flash. Ce mode permet de pouvoir appairer le Melodys Flash à une horloge mère (SIGMA). L’activation du mode INIT s’effectue sur un changement d’état du dip. -
Page 8: Mise En Service
: les commandes de carillons DHF sont envoyées toutes les heures et à chaque modification de la programmation. Pour remettre le Melodys Flash en mode INIT, il suffit d’effectuer un changement d’état au DIP 1 lorsque le Melodys Flash est en fonctionnement.
