Publicité
Liens rapides
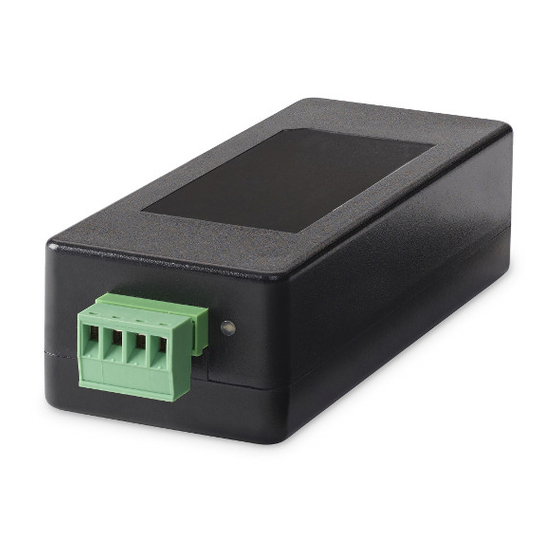
Fig. 1
NL
HANDLEIDING
WAARSCHUWINGEN EN VEILIGHEID
• Om brand of elektrische schokken te voorkomen,
mag u dit apparaat niet aan regen of vocht bloot-
stellen.
• Voor uw veiligheid: om elektrische schokken
te voorkomen, mag de behuizing niet worden
verwijderd.
• Repareer zelf geen onderdelen in het apparaat,
maar laat alle reparaties over aan deskundig
servicepersoneel.
• Zolang het netsnoer van het apparaat op een
wandcontactdoos is aangesloten, staat het
apparaat onder spanning, zelfs als het apparaat is
uitgeschakeld.
INHOUD VAN DE DOOS
Controleer of volgende onderdelen in de doos zitten:
Art1.1 unit - Netsnoer - Handleiding
INSTALLATIE EN GEBRUIK
Volg de stappen hieronder om tot een correcte instal-
latie te komen.
1. Plaatsing
Het toestel is voorzien om vrij geplaatst te worden.
2. Aansluiten van de luidsprekers
Er kunnen 2 luidsprekers op de ART1.1 aangesloten
worden. Respecteer hierbij de polariteit van de luid-
spreker in overeenstemming met de aanduiding op de
unit. De luidspreker mag van het type 4 of 8 ohm zijn.
3. Bluetooth connectie
Activeer Bluetooth op jouw toestel en zoek naar
"ART1.1" in het menu. Eens de koppeling gemaakt
kan je jouw favoriete muziek streamen.
Fig. 2
FR
MODE D'EMPLOI
AVERTISSEMENTS ET SÉCURITÉ
• Pour éviter tout risque d'incendie ou d'électro-
cution, n'exposez pas l'appareil à la pluie ou à
l'humidité.
• Pour votre sécurité : pour éviter tout risque d'élec-
trocution, ne retirez pas le panneau extérieur.
• Ne réparez pas de composants de l'appareil, mais
confiez toutes les réparations à du personnel
qualifié.
• Tant que le cordon d'alimentation de l'appareil est
branché à une prise secteur, l'appareil est sous
tension, même s'il est éteint.
CONTENU DE LA BOÎTE
Vérifiez si les éléments suivants se trouvent bien dans la
boîte : Le système Art1.1 - Antenne FM - Mode d'emploi
INSTALLATION
Procédez comme suit pour réaliser une installation
correcte.
1. Pose
L'appareil est doté, pour être posé librement.
2. Connexion des enceintes
Le ART1.1 peut être raccordé à 2 enceintes. Res-
pectez bien la polarité des enceintes indiquée sur le
connecteur à vis de le ART1.1. Les enceintes peuvent
être de type 4 ou 8 ohms.
3. Connexion Bluetooth
Recherchez et appuyez sur "ART1.1" à partir de votre
menu Bluetooth de votre appareil. La connexion est
établie, vous êtes prêts à jouer de la musique.
ART1.1
UK
USER GUIDE
WARNINGS AND SAFETY
• To prevent fire or electric shocks, the device must
not be exposed to rain or humidity.
• For your own safety: to prevent electric shocks
do not remove the housing.
• Do not try to repair any malfunctioning parts of
the device yourself. Ask a professional expert to
do this for you.
• When plugged into the mains, the device remains
electrically charged even when switched off.
CONTENTS OF THE PACKAGING
Check that the packaging contains the following
parts: The Art1.1 unit - FM antenna - User guide
INSTALLATION
To install correctly follow the steps listed below.
1. Positioning
The device can be freely positioned.
2. Connecting the loudspeakers
2 loudspeakers can be connected to the ART1.1.
Remember that the polarity of the loudspeaker must
correspond to what is indicated on the screw con-
nection on the ART1.1. The loudspeaker should be
type 4 or 8 ohm.
3. Bluetooth connection
Turn on your Bluetooth audio device and make it dis-
coverable, then choose "ART1.1" to connect. Select
and play audio files on your Bluetooth device.)
Publicité

Manuels Connexes pour Artsound ART1.1

Sommaire des Matières pour Artsound ART1.1
- Page 1 Vérifiez si les éléments suivants se trouvent bien dans la Check that the packaging contains the following Art1.1 unit - Netsnoer - Handleiding boîte : Le système Art1.1 - Antenne FM - Mode d'emploi parts: The Art1.1 unit - FM antenna - User guide INSTALLATIE EN GEBRUIK...
- Page 2 été endommagé. ArtSound décline ArtSound is not responsible for any other costs that digd. Artsound is niet verantwoordelijk voor eventuele andere kosten die uit het defect voortvloeien. (bvb.