Publicité
Les langues disponibles
Les langues disponibles
Liens rapides
Notice d'utilisation
1
Toute reproduction totale ou partielle des contenus de ce document sous toute forme que ce soit hormis l'usage personnel est interdite.
Tous les textes, images et graphismes sont la propriété de nimax GmbH.
Publicité

Sommaire des Matières pour Omegon Alpheon-NV 5x40
- Page 1 Notice d'utilisation Toute reproduction totale ou partielle des contenus de ce document sous toute forme que ce soit hormis l'usage personnel est interdite. Tous les textes, images et graphismes sont la propriété de nimax GmbH.
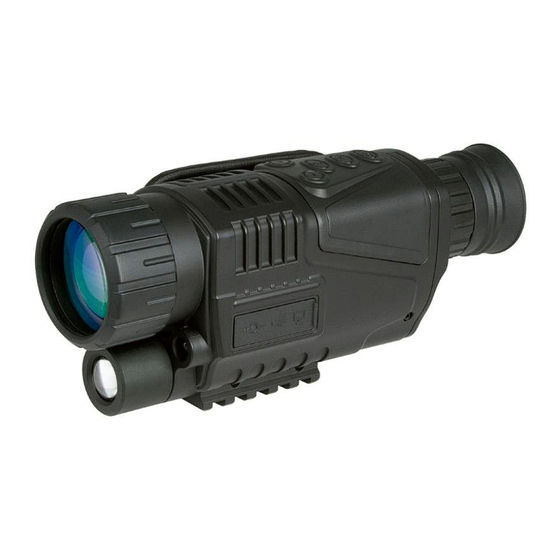
- Page 2 Version en français 5.2015 Rév. A Omegon® Alpheon-NV 5x40 Sincères félicitations pour l'achat de votre nouveau Omegon® Alpheon-NV 5x40. Cet appareil de vision nocturne fonctionne dans des conditions de très faible luminosité. Il accumule et renforce la lumière émise par les objets.
- Page 3 ’ ’ Allumez l appareil en maintenant l interrupteur « Power » appuyé pendant trois secondes. Enlevez le pare- ’ ’ poussière. Regardez dans l'oculaire. L écran LCD doit être éclairé. Pour éteindre l appareil, appuyez de ’ ’ ’ ’...
- Page 4 Fig. 8 Fig. 7 Mode Photo (Fig.7) ’ Lorsque l appareil est sur « ON », il est ’ automatiquement en mode Photo. Si ce n est pas le cas, cherchez les options disponibles en appuyant sur le bouton MODE. Appuyez sur « SELECT » pour prendre une photo.
-
Page 5: Arrêt Automatique
Visualiser les vidéos (Fig. 10) En mode Vidéo, appuyez sur le bouton MODE pour accéder au mode Visualisation. Vous pouvez ainsi défiler et regarder les vidéos prises. 1. Niveau de charge de la batterie 2. Date / Heure ’ 3. Temps d enregistrement Vidéo 4. - Page 6 English version 5.2015 Rev A The Omegon® Alpheon-NV 5x40 Congratulations on the purchase of the new Omegon® Alpheon-NV 5x40. This night vision device was designed to work under low light conditions. It captures and intensifies light coming from objects. With its built in IR-Illuminator one can increase the observing range. Special light conditions, such as Moonlight allow even to increase its observing range to infinite.
- Page 7 Start by removing the battery’s compartment cap. Insert a coin in the cap’s slot and rotate counter- clockwise. Insert the batteries as shown. Make sure to insert it in the correct position (negative end first) – figure 3. Retighten back the cap so that the batteries do not shake. Turn the device ON by pressing the Power/selector button for 3 seconds.
- Page 8 After 8 seconds, during which no changes are made the screen returns to its current mode. We recommend reducing the IR illumination to ZERO to save battery if there is enough outside light (moonlight etc … Figure 7 Figure 8 Photo mode (figure 7) When the device is set to ON it goes automatically to Photo mode.
- Page 9 Video Play (figure 10) While in video mode press MODE button to change to Play mode. This will allow to review and play the captured videos. 1. Battery charge status 2. Date/Time 3. Video recording time 4. Video serial number 5.
