Publicité
Les langues disponibles
Les langues disponibles
Liens rapides
ÉTAPE 1
ÉTAPE 2
2
X5
12
1
8
7R
ÉTAPE 4
ÉTAPE 5
12
10
X3
4
11
3
6
1
Enlever toutes les pièces du carton, les organiser selon les numéros de pièce indiqués sur la liste et vérifier
les quantités des pièces.
ÉTAPE 1 Insérer les cinq Roulettes (2) dans la Base (1). Pousser fermement jusqu'à ce que les Roulettes (2) s'encliquettent.
ÉTAPE 2 Fixez les Accoudoirs (7L & 7R) au Coussin du siège (5) en utilisant trois Vis d'accoudoir (8) pour chaque accoudoir.
SERREZ FORTEMENT TOUTES LES VIS EN PLACE À L'AIDE DE LA CLÉ ALLEN (12).
ÉTAPE 3 Fixez le Plateau Du Siége (4) au Coussin du siège (5) avec les flèches vers la partie avant du fauteuil en utilisant quatre
Vis pour la plaque du siège (9), SERREZ FORTEMENT TOUTES LES VIS EN PLACE À L'AIDE DE LA CLÉ ALLEN (12).
ÉTAPE 4 Fixez le Support du dossier du siège (11) à la partie arrière du Plateau Du Siége (4) en utilisant trois
Vis du support du dossier (10), SERREZ FORTEMENT TOUTES LES VIS EN PLACE À L'AIDE DE LA CLÉ ALLEN (12).
ÉTAPE 5 Insérer le Vérin pneumatique (3) dans la Base (1), Placer le siège assemblé sur le dessus du Vérin pneumatique (3)
et pousser vers le bas.
ATTENTION: AVANT D'UTILISER LE FAUTEUIL, S'ASSURER D'AVOIR SERRÉ
COMPLèTEMENT TOUTES LES VIS.
3680 / 36806
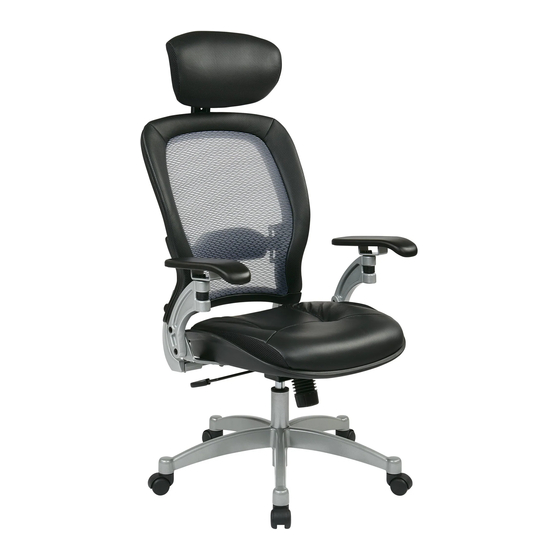
FAUTEUIL EN CUIR AU DOSSIER
À MAILLES AÉRÉES
INSTRUCTIONS DE MONTAGE
ÉTAPE 3
12
8
X3
5
9
X4
X3
7L
PIèCE
1. Base . . . . . . . . . . . . . . . . . . . . . . . 1
2. Roulettes . . . . . . . . . . . . . . . . . . . . 5
3. Vérin pneumatique . . . . . . . . . . . . 1
4. Plateau Du Siége . . . . . . . . . . . . . . 1
5. Coussin du siège . . . . . . . . . . . . . . 1
6. Assemblée du dossier . . . . . . . . . . 1
7. Accoudoirs (7L & 7R) . . . . . . . . . . 2
8. Vis d'accoudoir . . . . . . . . . . . . . . . 6
9. Vis pour la plaque du siège . . . . . . 4
10. Vis du support du dossier . . . . . . 3
11. Support du dossier du siège
(préinstallé) . . . . . . . . . . . . . . . . . . . . 1
12. Clé Allen . . . . . . . . . . . . . . . . . . . 1
4
1
5
QTÉ
LIMITED WARRANTY
SPACE ® chairs are warranted* from the date of purchase against failure due to material and workmanship as follows:
• Lifetime on component parts including pneumatic cylinder, control mechanism, base and casters .
• 3 Years on upholstery fabric and foam against wear and deterioration .
• Leather is not warranted against routine scratching and scuffing, as leather is subject to minor blemishes in use .
*All warranties are limited to the original purchaser for normal commercial usage defined as a standard forty hour work week by
persons weighing 250 lbs. or less. This warranty will not cover labor, freight or damage from misuse, abuse, negligence, alteration,
accident, vandalism, rusting, acts of nature or any other event beyond the control of Office Star Products. The warranty does not
cover cosmetic damage that may result from normal use. Liability for incidental or consequential damages is excluded. The user
assumes all risk of injury resulting from use of this product. When usage is more than 40 hours per week, a five year warranty on
all parts applies. Fabric is warranted for one year. This warranty gives you specific legal rights, and you may also have other rights
which vary from state to state.
To make a warranty claim, contact Parts Department via e-mail parts@officestar .net, by Fax 1-909-930-5629, or toll free parts
number 1-800-950-7262, Monday through Friday 8:00 a .m . - 5:00 p .m . Pacific Time . Provide model number and description of the
problem and obtain confirmation number . At it's option Office Star Products will:
(a) Supply compatible components of current manufacture .
(b) Repair the customer's component .
It is the customer's responsibility to prepay freight on any components returned to the factory . Return freight on components
covered by warranty will be paid by Office Star Products .
© Office Star Products Avril 2013
3680 / 36806
AIR GRID BACK LEATHER CHAIR
OPERATING INSTRUCTIONS
FEATURES
• PNEUMATIC SEAT HEIGHT ADJUSTMENT
• TILT LOCK
• TILT TENSION ADJUSTMENT
2
NOTE: Be careful not to loosen back tilt adjustment knob
• HEADREST ADJUSTMENT
3680
WARNING
1 . Use this product only one person at a time .
2 . Do not use this chair unless all bolts screws and
3 . Check that all bolts screws and knobs are tight every
4 . Do not overturn back tilt knob when decreasing
1
2
5 . Dispose of packing material properly . Do not use
6 . Do not use chair as a stepladder .
36806
7 . Use this chair for its intended purpose only .
8 . Use mild detergent only for cleaning .
To raise seat remove pressure from seat and pull
lever (1) up . To lower seat height sit on chair and pull
lever (1) up .
To lock, return chair to the upright position and push
lever (1) in . To unlock pull lever (1) out .
For individual comfort, this chair has been equipped
with an adjustment that will allow the user to change
the tension of the tilting feature . Turn knob (2)
clockwise to increase tension and counter-clockwise
to decrease or ease the tension .
completely .
To adjust the height of the headrest loosen the
adjustment knob at the back of the headrest . Do not
over loosen the adjustment knob . Move the headrest
to desired height and tighten the adjustment knob .
knobs are securely tightened .
three months or as needed .
tension .
plastic cover as head covering . It may cause
suffocation .
Publicité

Manuels Connexes pour Space Seating 3680


Sommaire des Matières pour Space Seating 3680
- Page 1 3680 / 36806 3680 / 36806 FAUTEUIL EN CUIR AU DOSSIER AIR GRID BACK LEATHER CHAIR À MAILLES AÉRÉES OPERATING INSTRUCTIONS INSTRUCTIONS DE MONTAGE ÉTAPE 1 ÉTAPE 2 ÉTAPE 3 FEATURES • PNEUMATIC SEAT HEIGHT ADJUSTMENT To raise seat remove pressure from seat and pull lever (1) up .
- Page 2 3680 / 36806 3680 / 36806 FAUTEUIL EN CUIR AU DOSSIER AIR GRID BACK LEATHER CHAIR À MAILLES AÉRÉES ASSEMBLY INSTRUCTIONS MODE D’EMPLOI CARACTÉRISTIQUES STEP 1 STEP 2 STEP 3 • RÉGLAGE PNEUMATIQUE DE LA HAUTEUR DU SIèGE Pour élever le siège, enlever toute pression du siège et tirer le levier (1) vers le haut .